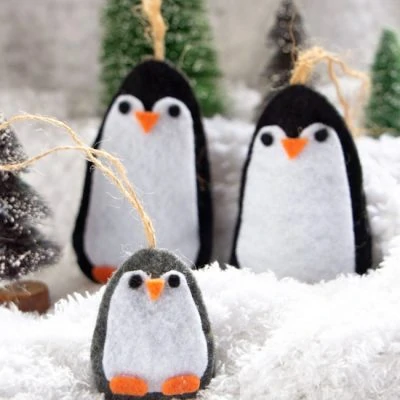
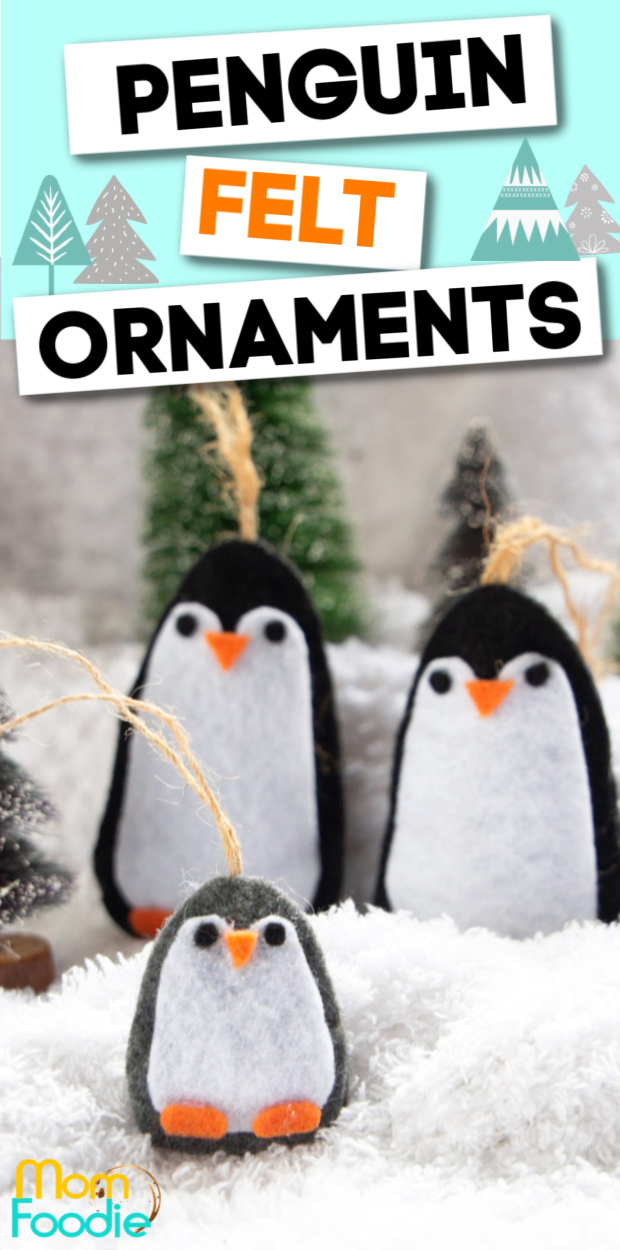
These cute Penguin Ornaments are an easy and inexpensive Christmas craft. If you love penguins and need ornaments that won't shatter, this is just the craft project for you. The family consists of a felt penguin couple with their baby... but you could make a whole colony and cover your holiday tree with these frosty little birds.
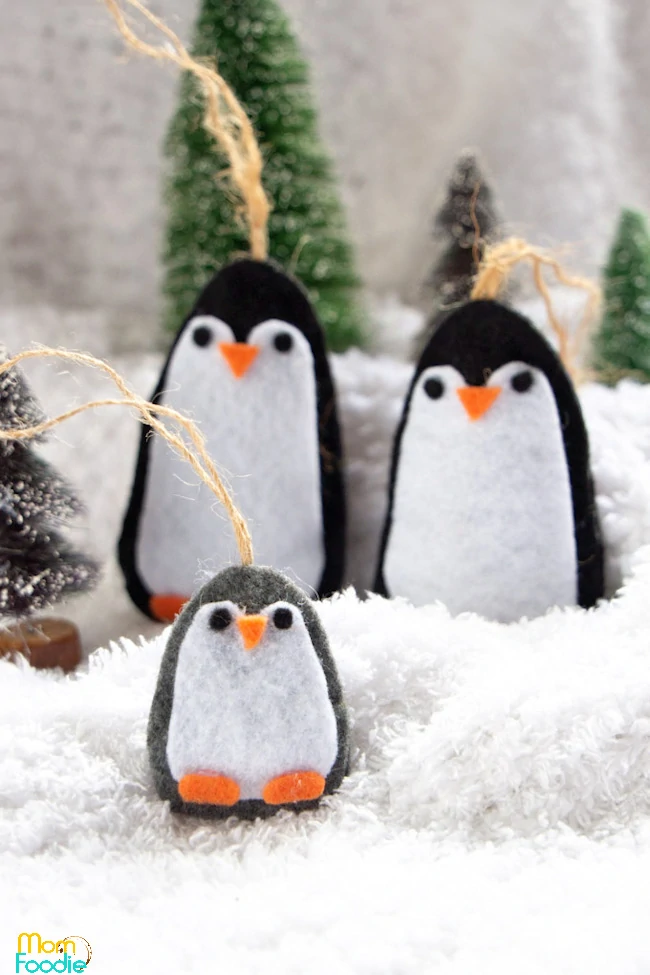
Penguin Ornaments
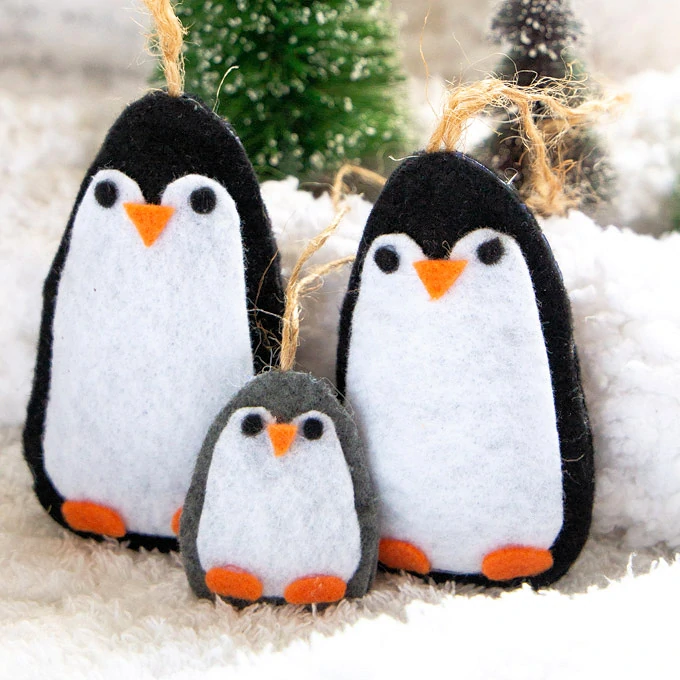
Penguins are often associated with the holiday season due to their association with chilly areas like the North Pole. These adorable felt penguins are great ornaments for your Christmas tree, but would also be a cute gift or packaging decoration. Hang one of the penguin ornaments on a bottle of wine or attach it to a tray of cookies to provide a memory once their treats are gone. They would be a sweet accompaniment to homemade sugar scrub or bath salts too.
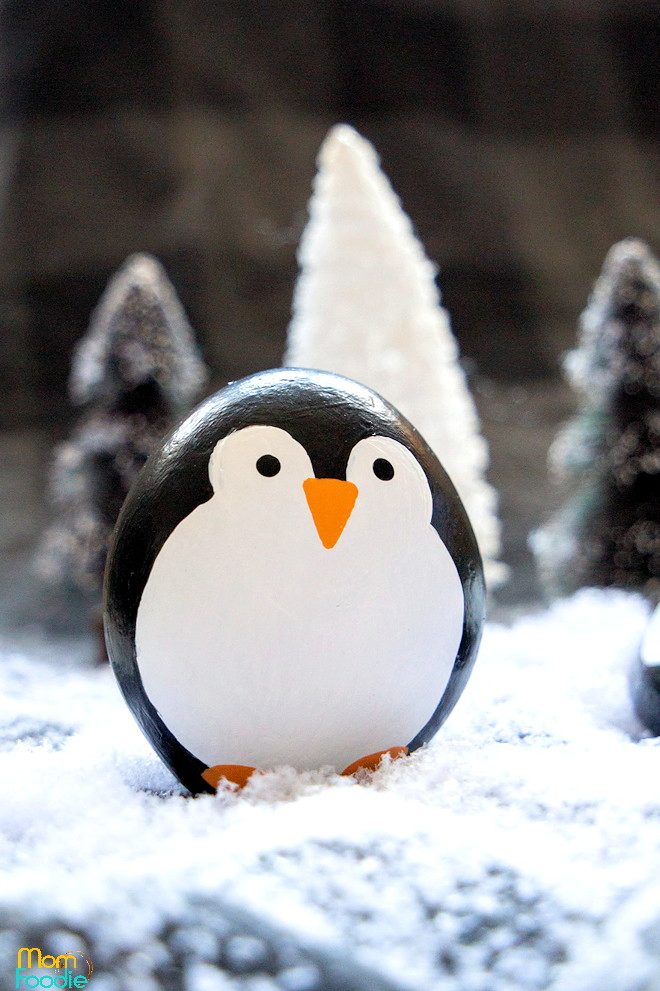
Make some of my Painted Penguin Rocks for under the Christmas tree as well!
Tips for Making Felt Penguin Ornaments
The felt penguin ornaments are easy enough for inexperienced crafters. Even older kids could make them. While hot glue was used here their are fabric glues on the market that could do the job without the discomfort of the inevitable hot glue burn.
Glue Options for Felt Ornaments
Hot glue is by far the fastest and easiest product for the job (and what I recommend), but let's look at the alternatives.
- Tacky Glue - Though the resulting bond will be good, this will take quite a long while to set. If you are assembling a large batch at once or are making them with children this is a good choice though. Tip: the thicker your glue is in consistency the better it will work. Try the Quick Dry or Fast Grab versions of the product.
- Fabric Glue - As this adhesive is made for fabric, it will stick well. Many types are available and results will vary based on your choice. Some are prone to hardening.
- E6000 - This versatile adhesive cane certainly do the job, but emits fumes. It is not safe to use with kids and ventilation is recommended particularly if you want to make a large batch of the felt penguin ornaments.
Other Supplies & Equipment
- Craft felt - The sheets are quite cheap and the project does't need a lot of fabric.
- Batting (stuffing) - As the project requires so little stuffing, you could actually get away with ripped up and fluffed cotton balls if only making one penguin couple and baby.
- Twine - Any twine or attractive thin cord will do.
- Fabric Scissors
- Hot Glue Gun & sticks
- Tweezers (not necessary, but helpful... those penguin eyes and beak are tiny)
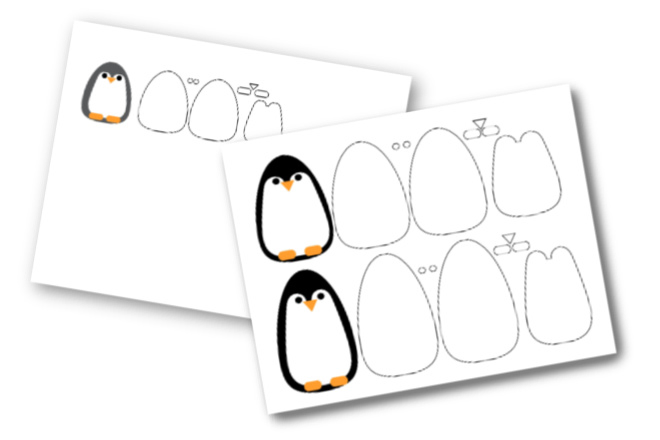
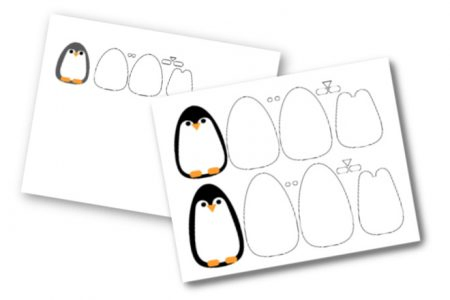
Printable Penguin Ornament Pattern
Here is the link to get your Felt Penguin Pattern >> PRINTABLE_PATTERN_FELT PENGUINS
Making the Felt Ornaments
A quick rundown of making the ornaments. Full directions below in printable card.
- Print out penguin pattern template and cut out felt pieces.
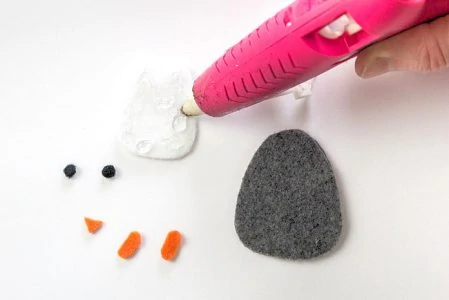
- Glue body pieces together, leaving top open.
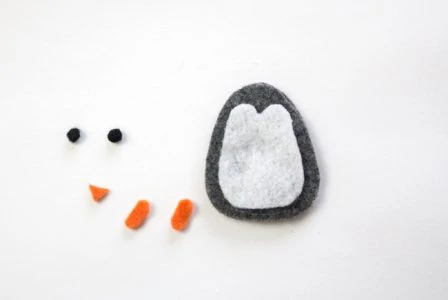
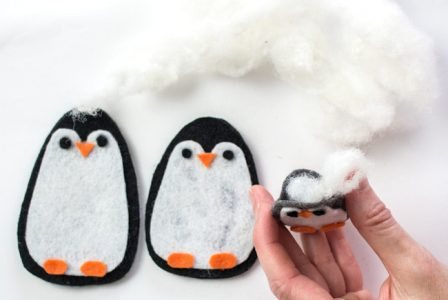
- Glue on white belly and face area. Then adhere the eyes beak and feet.
- Allow to dry fully, then stuff each penguin.
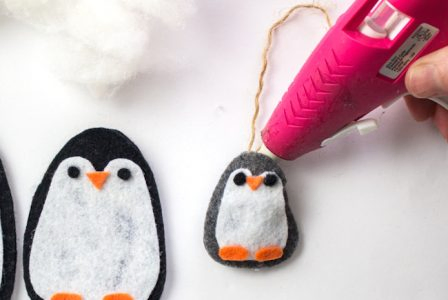
- Add a loop of twine, tuck ends inside.
- Glue the felt penguin ornament closed.
- Hang or gift once fully dried.
Like this holiday craft? Make my DIY Tree Snow Globe too!
DIY Felt Penguin Ornaments
Equipment
- Glue gun
- Fabric scissors
- Tweezer (optional)
Ingredients
- Felt sheet or scraps black, white, orange, charcoal
- Printable Penguin Pattern Template
- Clear hot glue sticks
- Batting
- Twine
Instructions
- Print off pattern template on 8.5 x 11 sheets of paper.

- Using fabric scissors, cut 2 of the large body pieces in a charcoal or black felt color and 1 of the smaller body pieces in a white felt color. Cut 2 eyes from black and a beak and 2 feet from orange felt.

- On one side of the large charcoal/black piece, apply a bead of glue along the perimeter of the lower half as shown. Place the other large body piece on top and press to secure and form main body. MAKE SURE TO LEAVE AN OPENING AT THE TOP.
- Add glue to the back side of the white piece.
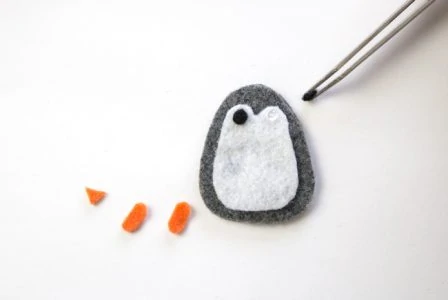
- Press white belly piece in place onto the penguin body. Tip: For more control and to avoid touching the hot glue, use a pair of tweezers to place smaller felt pieces.

- Add a dab of glue to the white piece in the penguin face/eye area and press black eye in place. Repeat with the second eye.
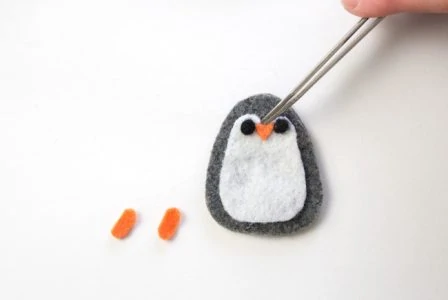
- Add a dab of glue to the white piece in the penguin face/nose area and press the orange beak in place.
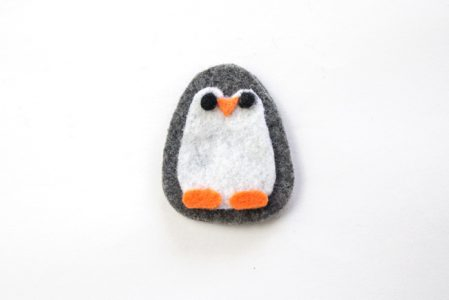
- Add glue to the back side of the orange feet pieces and press in place.
- Trim any excess felt edges that are misaligned.

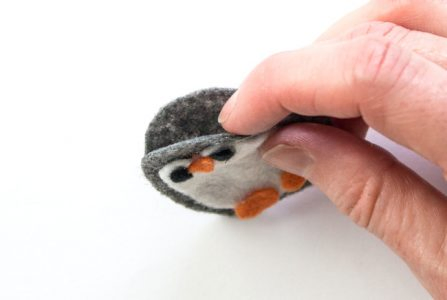
- Stuff tiny wads of batting into the penguin.
- Cut a piece of twine 8” long. Fold in half to form loop. Sandwich the loop ends inside the penguin at the top.
- Glue the remaining open edges of the penguin closed. Repeat process with other penguins.


Notes
Follow the same instructions as the baby penguins, except use black felt instead of charcoal for the large body pieces.

Leave a Reply