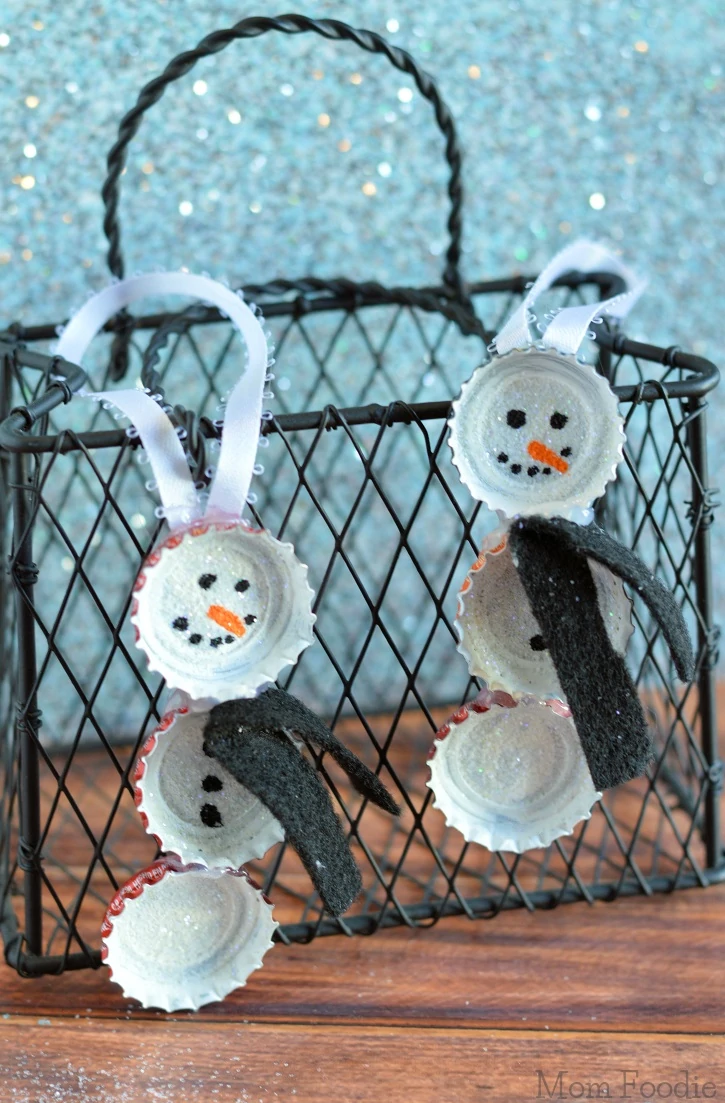
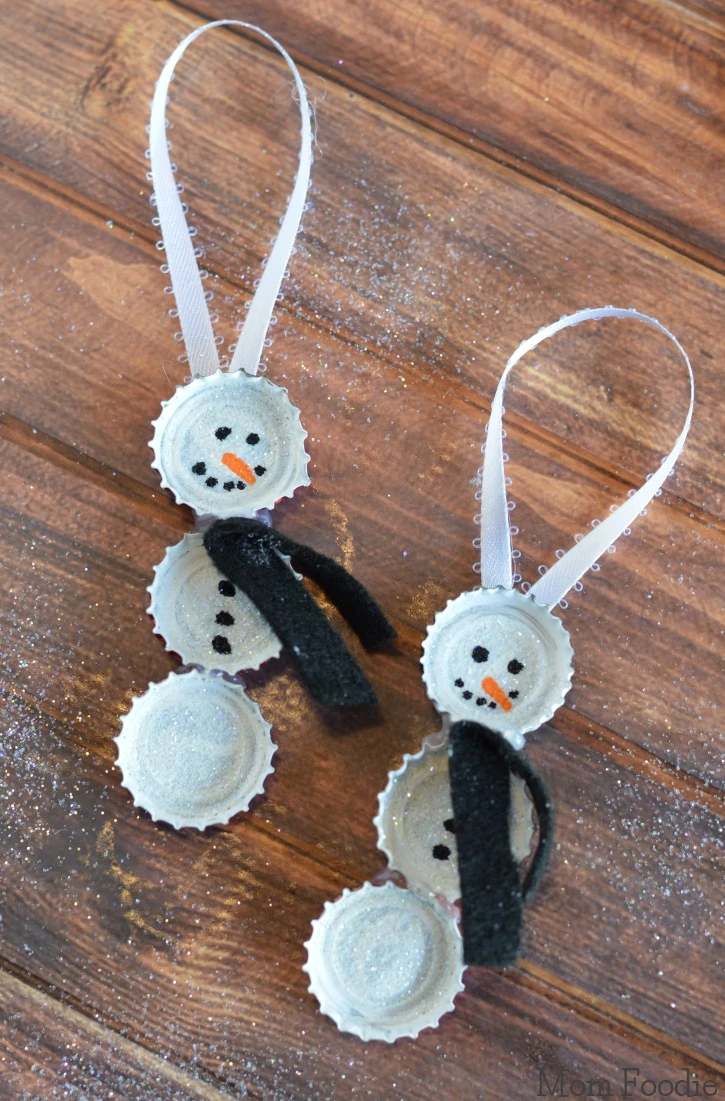
These cute Bottle Cap Snowmen ornaments are a great upcycling holiday craft project.
Bottle Cap Snowman Ornaments are a fun & easy craft project that makes good use of caps which would otherwise go in the trash or recycling. While I would not suggest young children handle the hot glue gun used in this project, there are aspects of it they can help with & older children could complete this holiday craft themselves.
How to Make Bottle Cap Snowman Ornaments
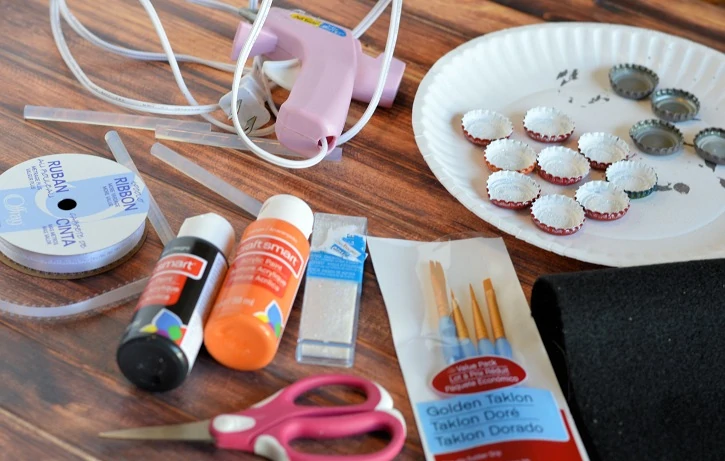
Supplies (makes 2 ornaments)
6 bottle caps
1 piece of black felt cut into 3 inch strips
Orange paint
black paint
white paint
Glitter
ribbon
hot glue gun
2 paint brushes
1. First you want to start by painting your bottle caps. Coat the inside with your white paint and then sprinkle white glitter inside of the bottle cap to give it a gleaming look of snow.
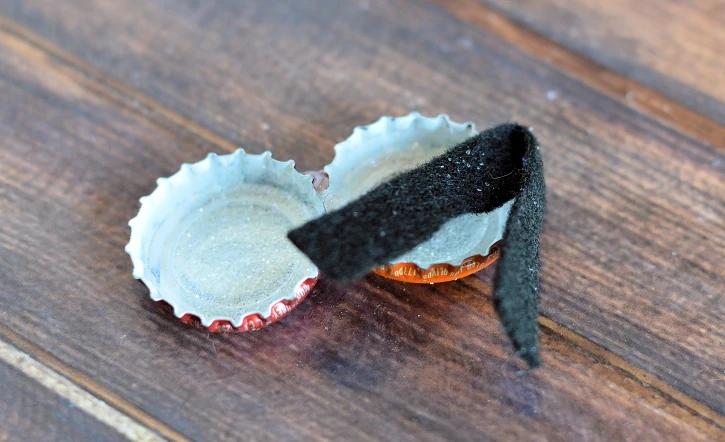
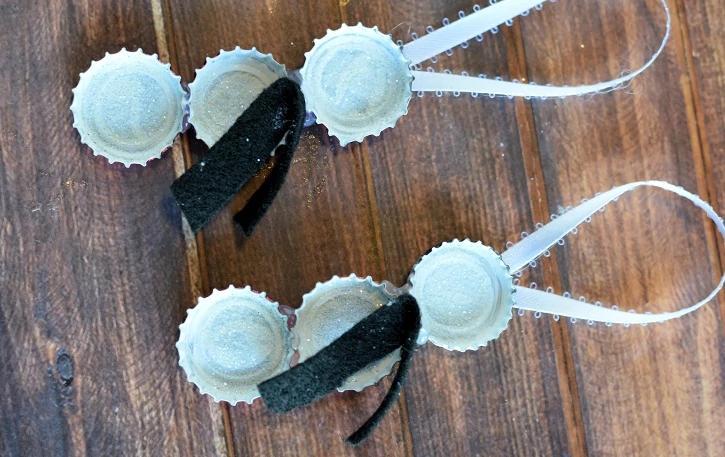
2. Then you will want too cut your felt into 3 inches for your scarf and cut your ribbon into about 6 inches a strip for your hanging part. Now go and hot glue two bottle caps together and let dry. Now get your black strip of felt and fold it in half. Put a dot of hot glue on the top of your two bottle caps and press the felt piece down.
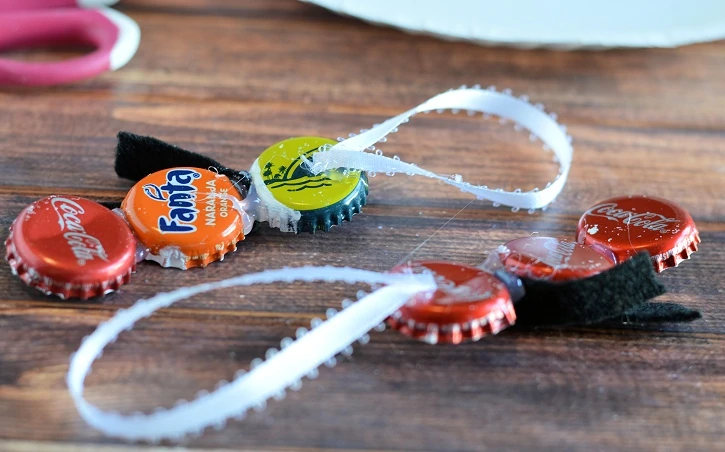
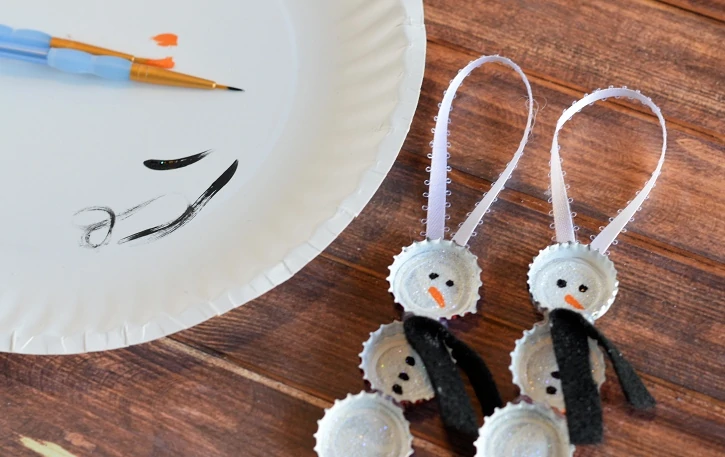
3. Now get your third bottle cap and hot glue that in top of the felt scarf and hot it tightly down for a few seconds. Now get your ribbon and put a small dab of hot glue on the back of the snowman's head hot glue both ends to the same spot.
4. Grab your paint brush and use your black paint to make his eyes and buttons first. Then grab your range paint and make his nose. Go back to your black paint brush and make his mouth and be careful not to go over his nose.
5. You will want to let this dry for about a half hour to an hour. Then it is free to use on your tree or to gift to someone.
NOTE- I used bottle caps we saved from our soda bottles. This is a great tip on how to recycle something. OR you can buy bottle caps at a craft store.
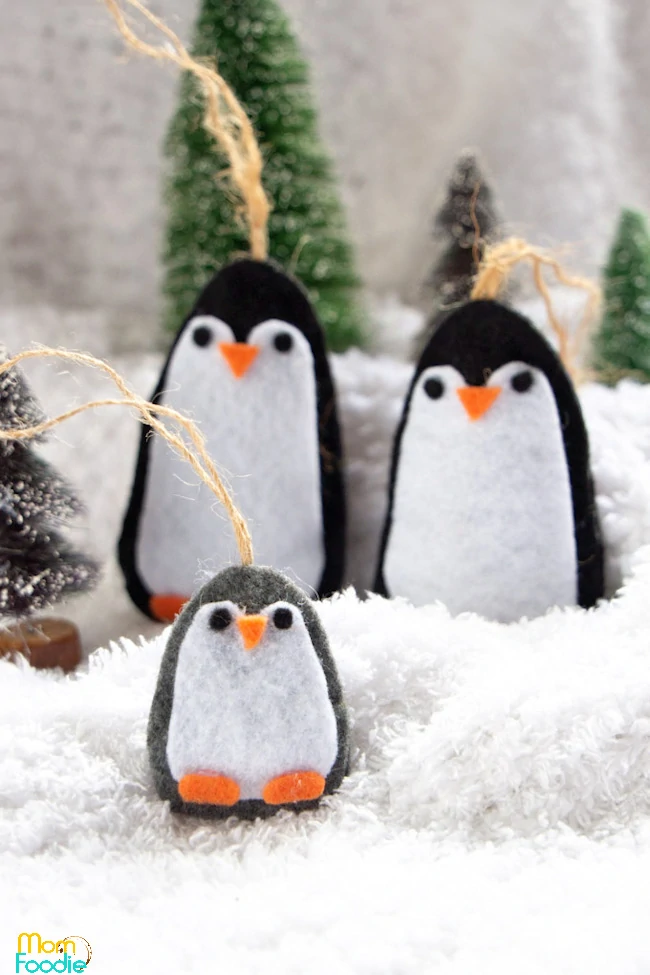
If you like these... try my Penguin Ornaments too!


Leave a Reply