I adore cute reusable snack bags (and sandwich bags) for my daughter's lunches. Nicely made ones with liner that helps with food freshness can be pricey though.
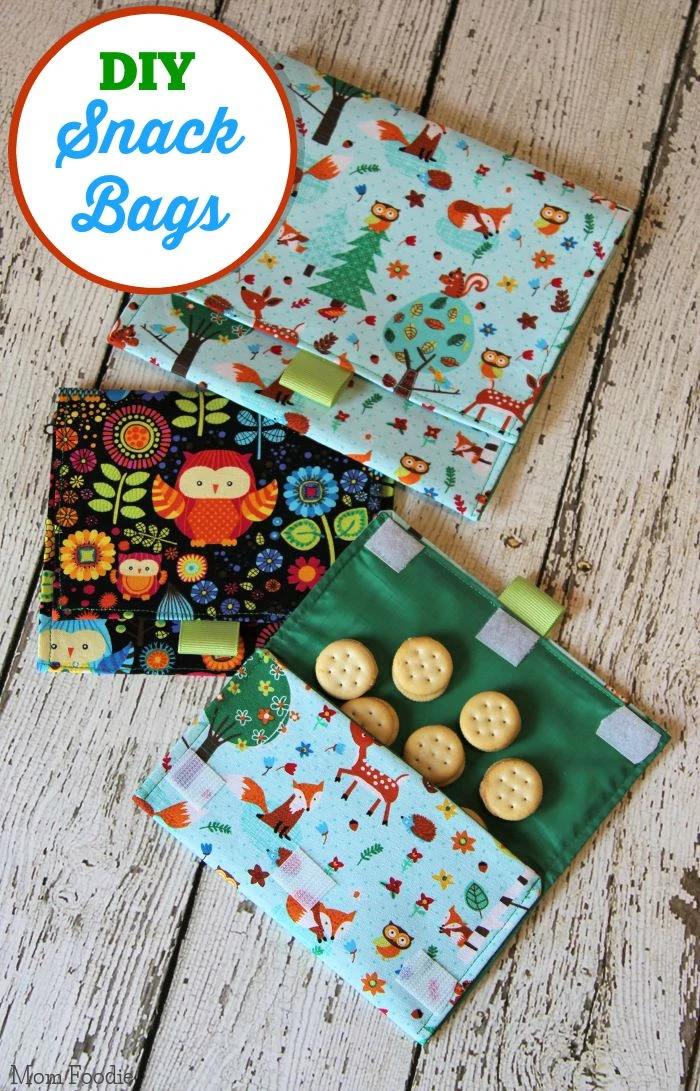
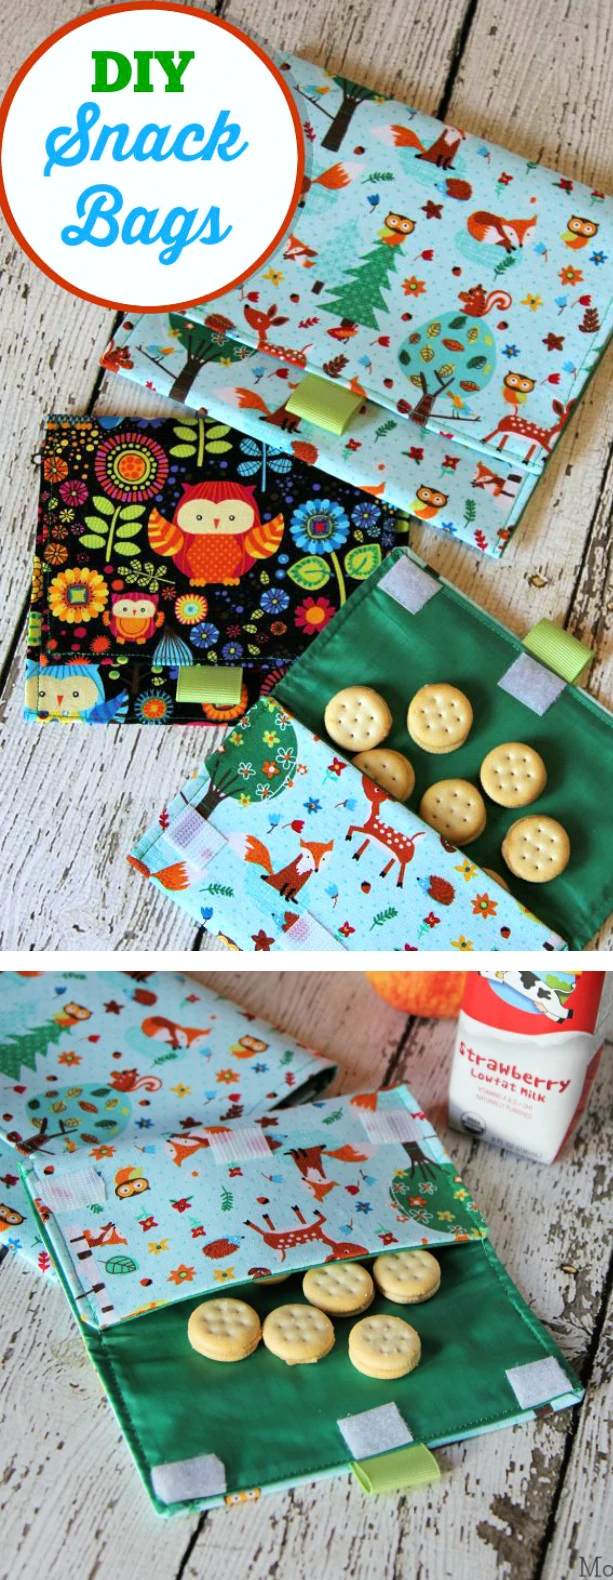
DIY Reusable Snack Bags
I decided to make my little diva some of the eco-friendly bags myself this year. I found some adorable cotton print fabric and backed it with fusible interfacing for stiffness. The cuteness will certainly will make my daughter's lunch more fun & cheerful.
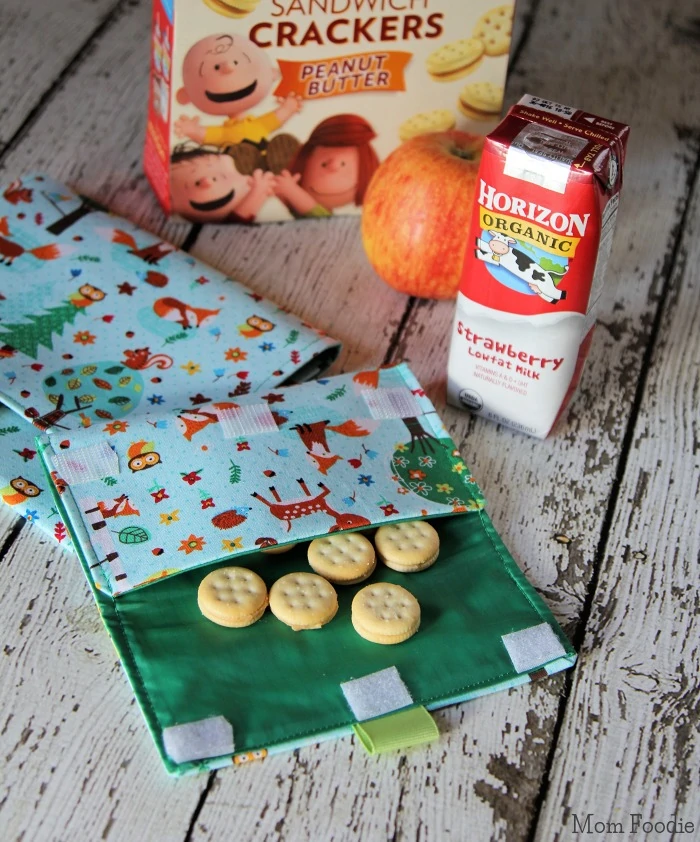
The homemade snack bags are very handy for assembling healthy lunches. I've switched her to a mostly organic diet over the past month, and breaking snacks into portions myself is more economical too.The reusable sandwichs bags are slightly larger.
Making DIY Lined Snack Bags
Making cute snack bags is actually pretty easy. I'm quite rusty in my sewing skills and am still figuring out my new sewing machine, yet they didn't take long at all.
What you need to make Lined Snack Bags:
Supplies:
Cute cotton fabric
Medium Weight iron-on interfacing
rip-stop nylon fabric
coordinating thread
ribbon for pull (I used grosgrain)
self-stick Velcro
Tools:
iron
sewing machine
scissors
Directions for Lined Snack Bags:
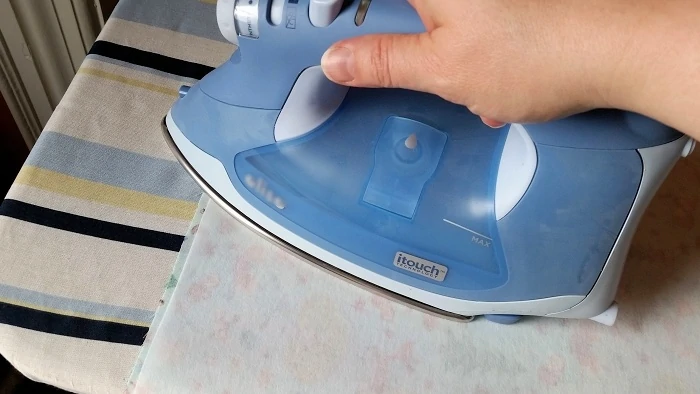
First iron the interfacing shiny side down onto the back of the fabric. Be mindful that character prints will need more fabric to line up nicely.
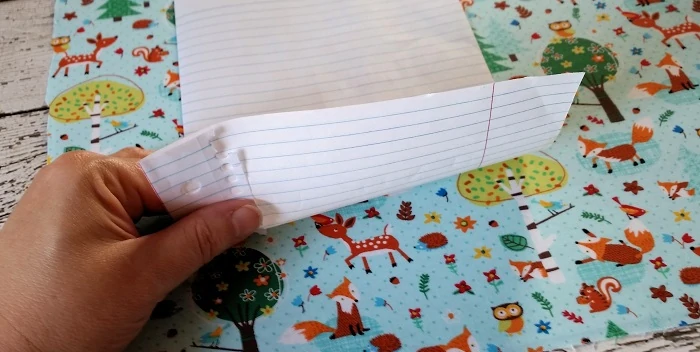
Cut out a long rectangle of the backed fabric. It should be ½ -¾ of an inch wider than you want the completed bag, and roughly 3 times longer than you want the height of the bag. Be mindful of where pattern characters will land. I try and center one about in the bottom third of triangle, so it will center on flap. Make a simple paper template if you like, though it really isn't necessary.
Cut a piece of the rip-stop nylon the same size.
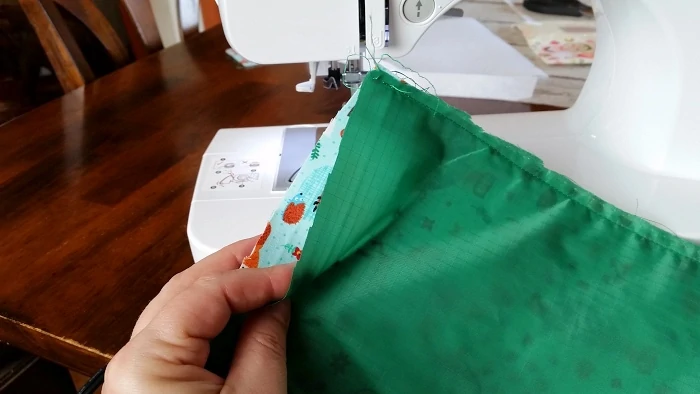
Sew the two pieces together (Print side to nylon), on 3 sides, leaving the side that will be the flap open.
Turn inside out. Use a chopstick to push out corners if necessary. Place nylon side down on ironing board, and press flat.
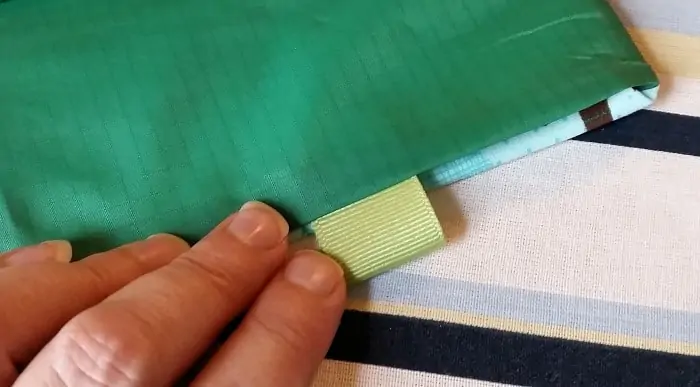
Fold in the open edge that will make the flap. Check to make sure it lines up even as it will be folded, then press crease with iron. Sew the edge, tucking a loop of ribbon in center as sewing, to serve as a pull.
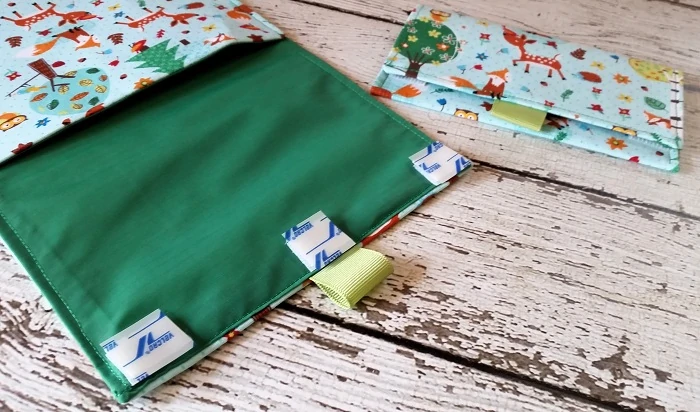
Turn up the other side to create the pocket. Sew the sides, going right up to flap edge. Attach one side of adhesive Velco to flap edges. Remove backing on other side and close bag, pressing firmly on Velcro to ensure adherence. The snack bag is now ready to use.
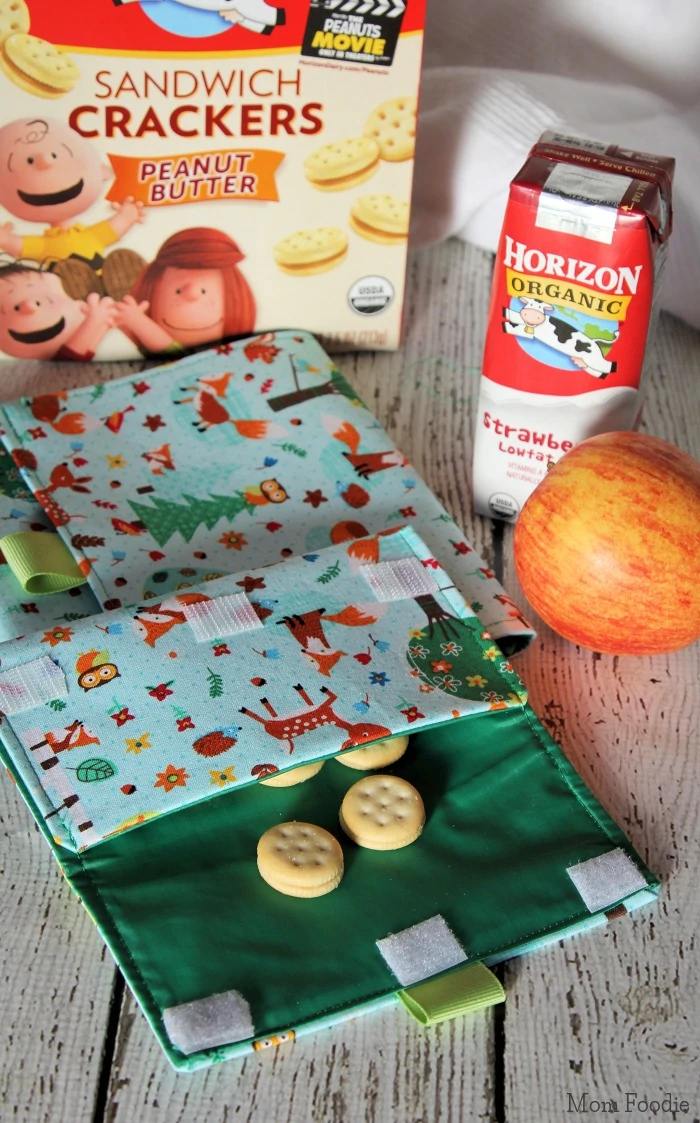
Enjoy your homemade reusable sandwich and snack bags!

Megan Elford says
These are so cute! What a great way to properly portion-control snacks in an environmentally-friendly way.
Karen Hartzell (@InTheKitchenKP) says
Your reusable fabric snack bags are adorable. It makes me wish I could sew. I am sure your daughter loves seeing the fun animal fabric in her lunch every day.
Jacob Fu says
Those look great! We may have to make some for ourselves for our road trips 🙂
Miranda (Myrabev) says
These are the cute snack bags I have ever seen, I am loving this DIY well done.
Melissa says
I love these little bags. It looks so easy to make and what a great way to cut out baggies.
Heather says
Oh gosh I love them and have a few of my own. I used to make cloth diapers, so I bet I could make these!
Angelic Sinova says
I'm a sucker for a good DIY project! How adorable is this? I would have loved to have this back when I was in school <3
Emily says
These bags are such a practical item for kids who take snack or lunch to school. They will eventually pay for themselves by saving you money on disposable bags.
Felicita Moncada says
I love reusable bags too! Anything to save on putting more garbage in the world. I love that they can be personalized for each child with different fabrics.
Maureen says
OMG those are so so cute! I wish I can sew but I have such clumsy fingers even if my life depends on it...the best I could sew is button 😀 You are so talented!
Angie says
Those are adorable! I love the fabric you chose and what a brilliant project as well. Saves you money, helps the environment, and probably brightens up your kid's lunch as well.
Shaney Vijendranath says
I'm in love! I so want one of these snack bags. You so talented, I don't think I can do that....Perfect to carry around with a toddler.
Rosey says
I like the little homemade snack bags. I'd love to use those for my son and my granddaughter (not that far apart in age, lol)
Rena McDaniel says
What a cute idea! Not only fun, but I would imagine that it would save you tons of money on sandwich and snack baggies! I love them!
Jaime Nicole says
These are adorable bags. I love how customizable the bags are and that we can create them for the kids' individual interests. Such a cute idea.
Crystal Wachoski says
Those are a fabulous idea. I wish I could sew and make my own. I have a few but not enough.
Rebecca B. says
This is such a cute and functional project!! It is a DIY project that I think I could tackle and I am totally not crafty 😉
Yona Williams says
The fabric shown here is too cute. I have seen a lot of people sell snack bags like this on Etsy.
Chantal says
These are adorable! What a clever and creative idea, thanks so much for sharing!
Peachy @ The Peach Kitchen says
You make it seem like these DIY Snack bags are so easy to make! I can't sew..LOL!
Karmin says
I love these and have made several for my family since I first read this post. The ripstop nylon is a brilliant lining. I have a question. Do you know if uncoated ripstop nylon is food safe? I am assuming so but don't have any information and have been trying to research.
Robin Gagnon says
As I've always stored dry snacks or sandwiches in these, I never put much thought into it.