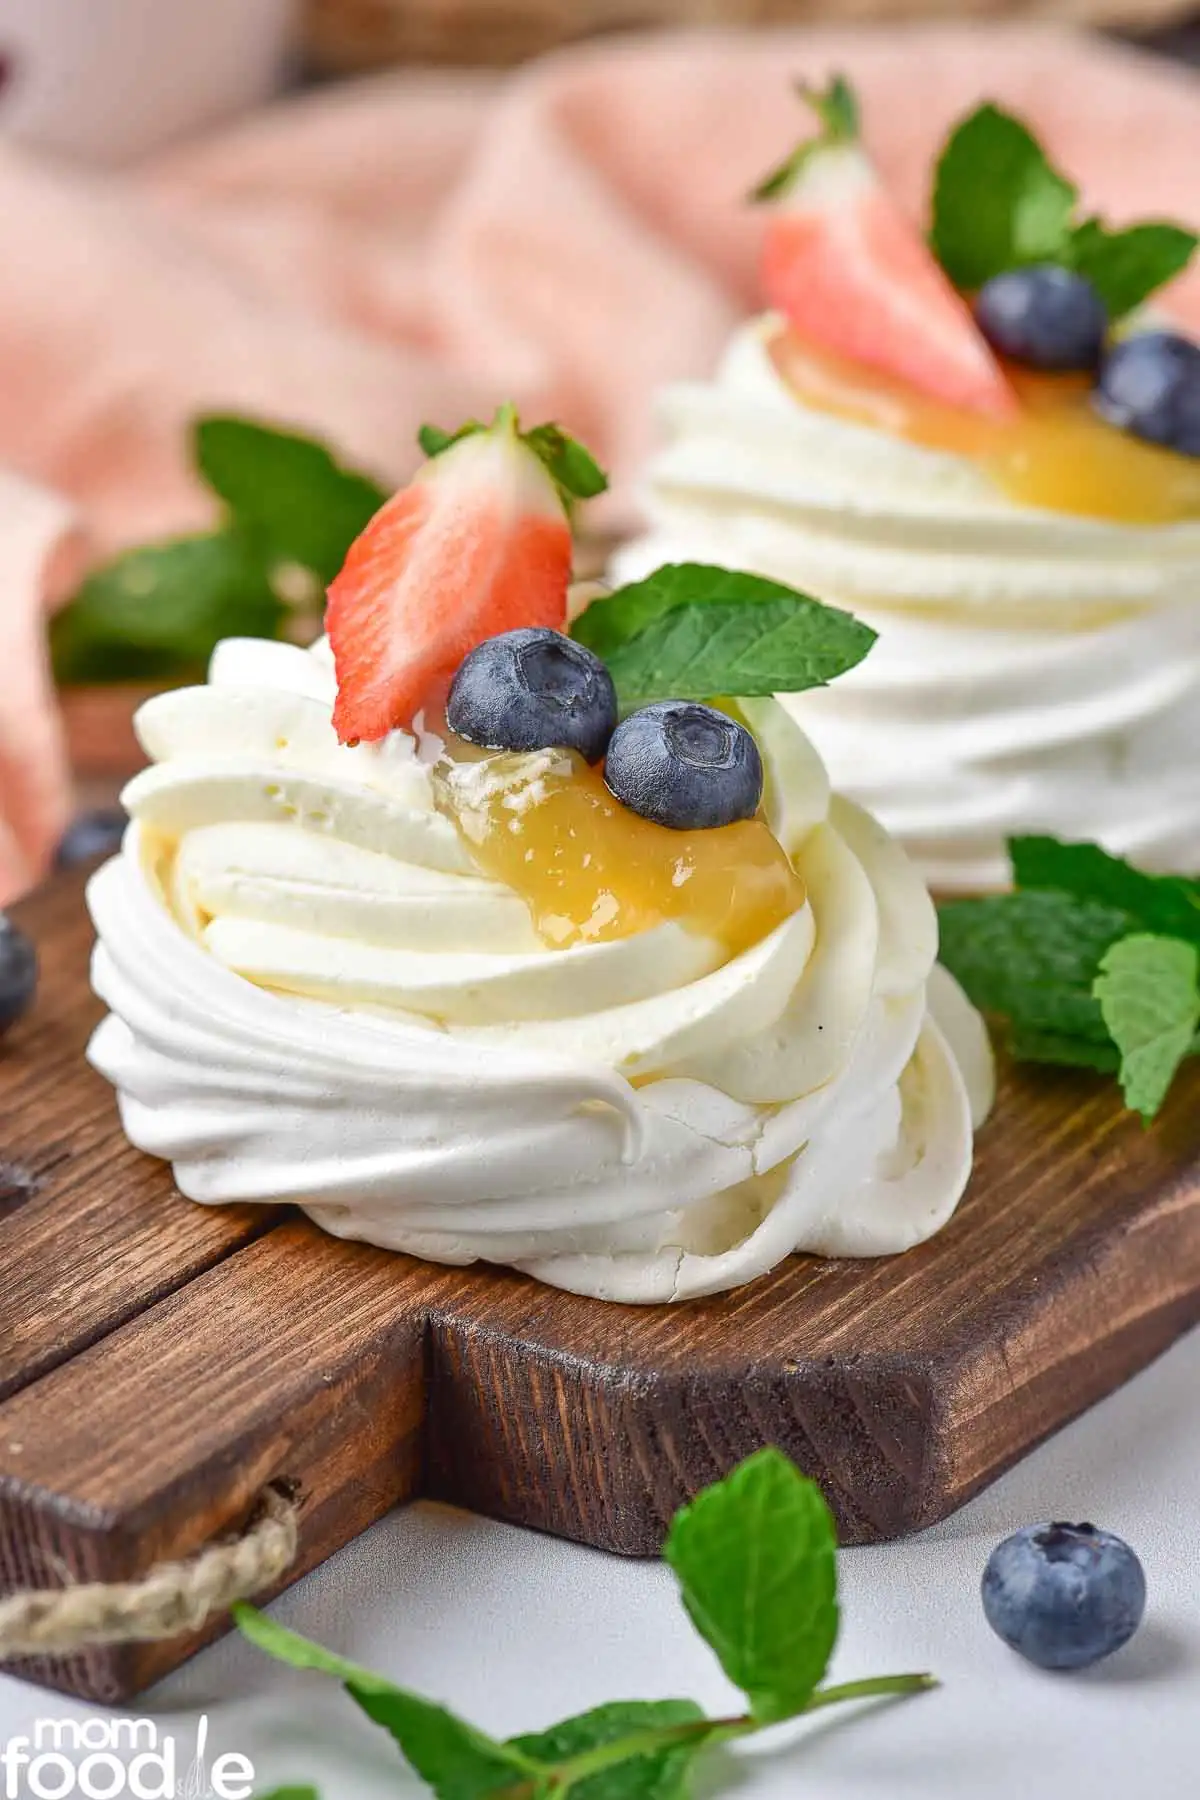
This mini pavlova recipe makes an elegant gluten free dessert. perfect for any occasion. These individual serving pavlova desserts are particularly fitting for spring and summer events when fresh fruits and berries are in season to top them with, but they are most popular during the Easter and Christmas holidays.
What is a Pavlova?
A Pavlova is a delicate meringue-based dessert which can be topped with cream, fruit, nuts, jams or curds. It was created in Australia or New Zealand in honor of the renowned Russian ballerina, Anna Pavlova, though the popular dessert is now enjoyed world wide. The meringue for this dessert is typically crunchy on the outside and with a marshmallow soft center.
Individual Serving Size
A traditional Pavlova is cake like in size and is cut into servings. While uncut it is a beautiful dessert, it becomes quite messy when sliced. The mini pavlovas we are making here are cute individual serving size. They are not just more presentable, but baking time is reduced as well.
How to Make Mini Pavlovas
Let's get down to preparing this recipe for mini pavlovas. Follow along here for step-by-step directions with pictures, or jump down to the printable recipe card.
Ingredients
Here is everything you need to make these lovely little gluten-free desserts.
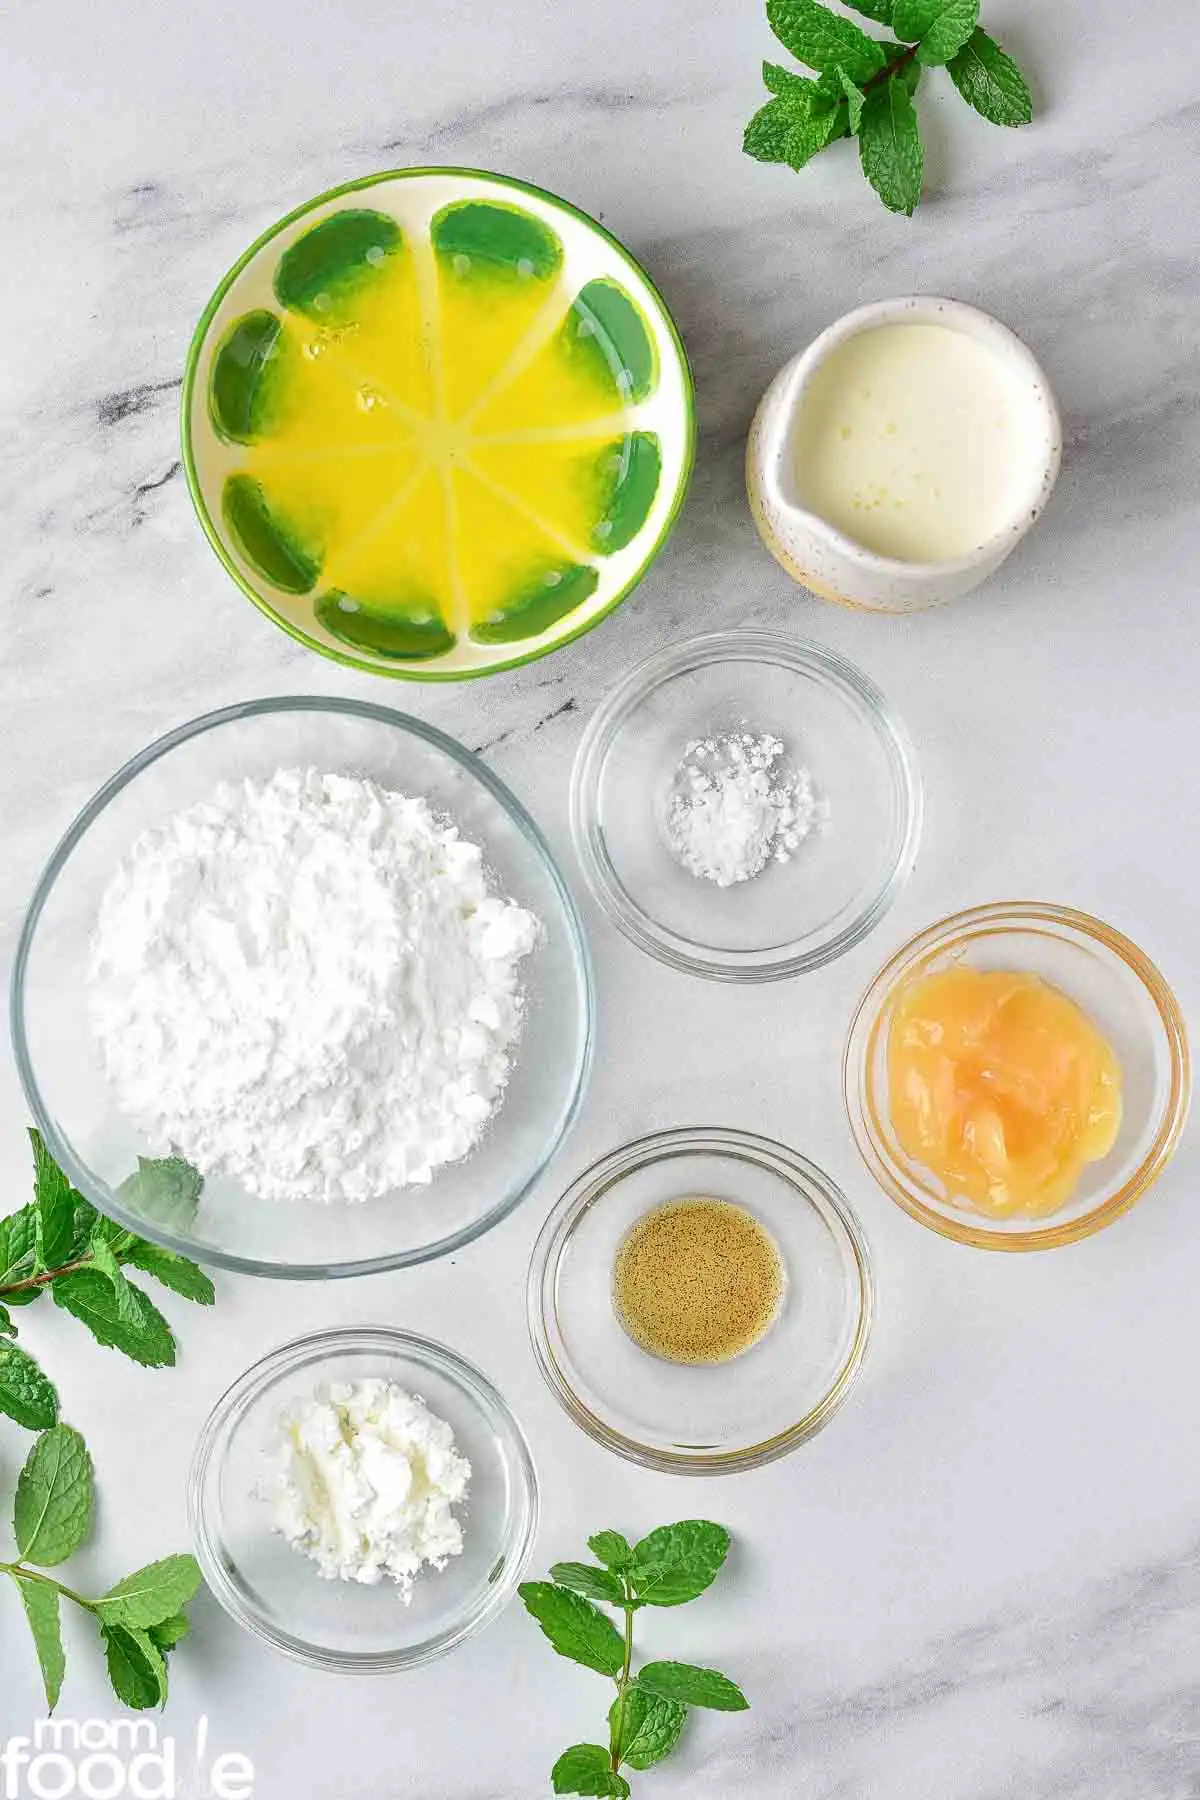
- ¾ cup powdered sugar
- 4 egg whites, room temperature (discard egg yolks or use them in a curd or other egg yolk heavy recipe)
- 2 teaspoon cornstarch (potato starch can be swapped if necessary)
- ¼ teaspoon cream of tartar
- ¼ cup lemon curd
- berries, mint for decoration
Cream Filling
- 1 cup heavy cream
- ¼ cup powdered sugar
- 1 teaspoon vanilla extract or paste
Instructions
Making the Meringue
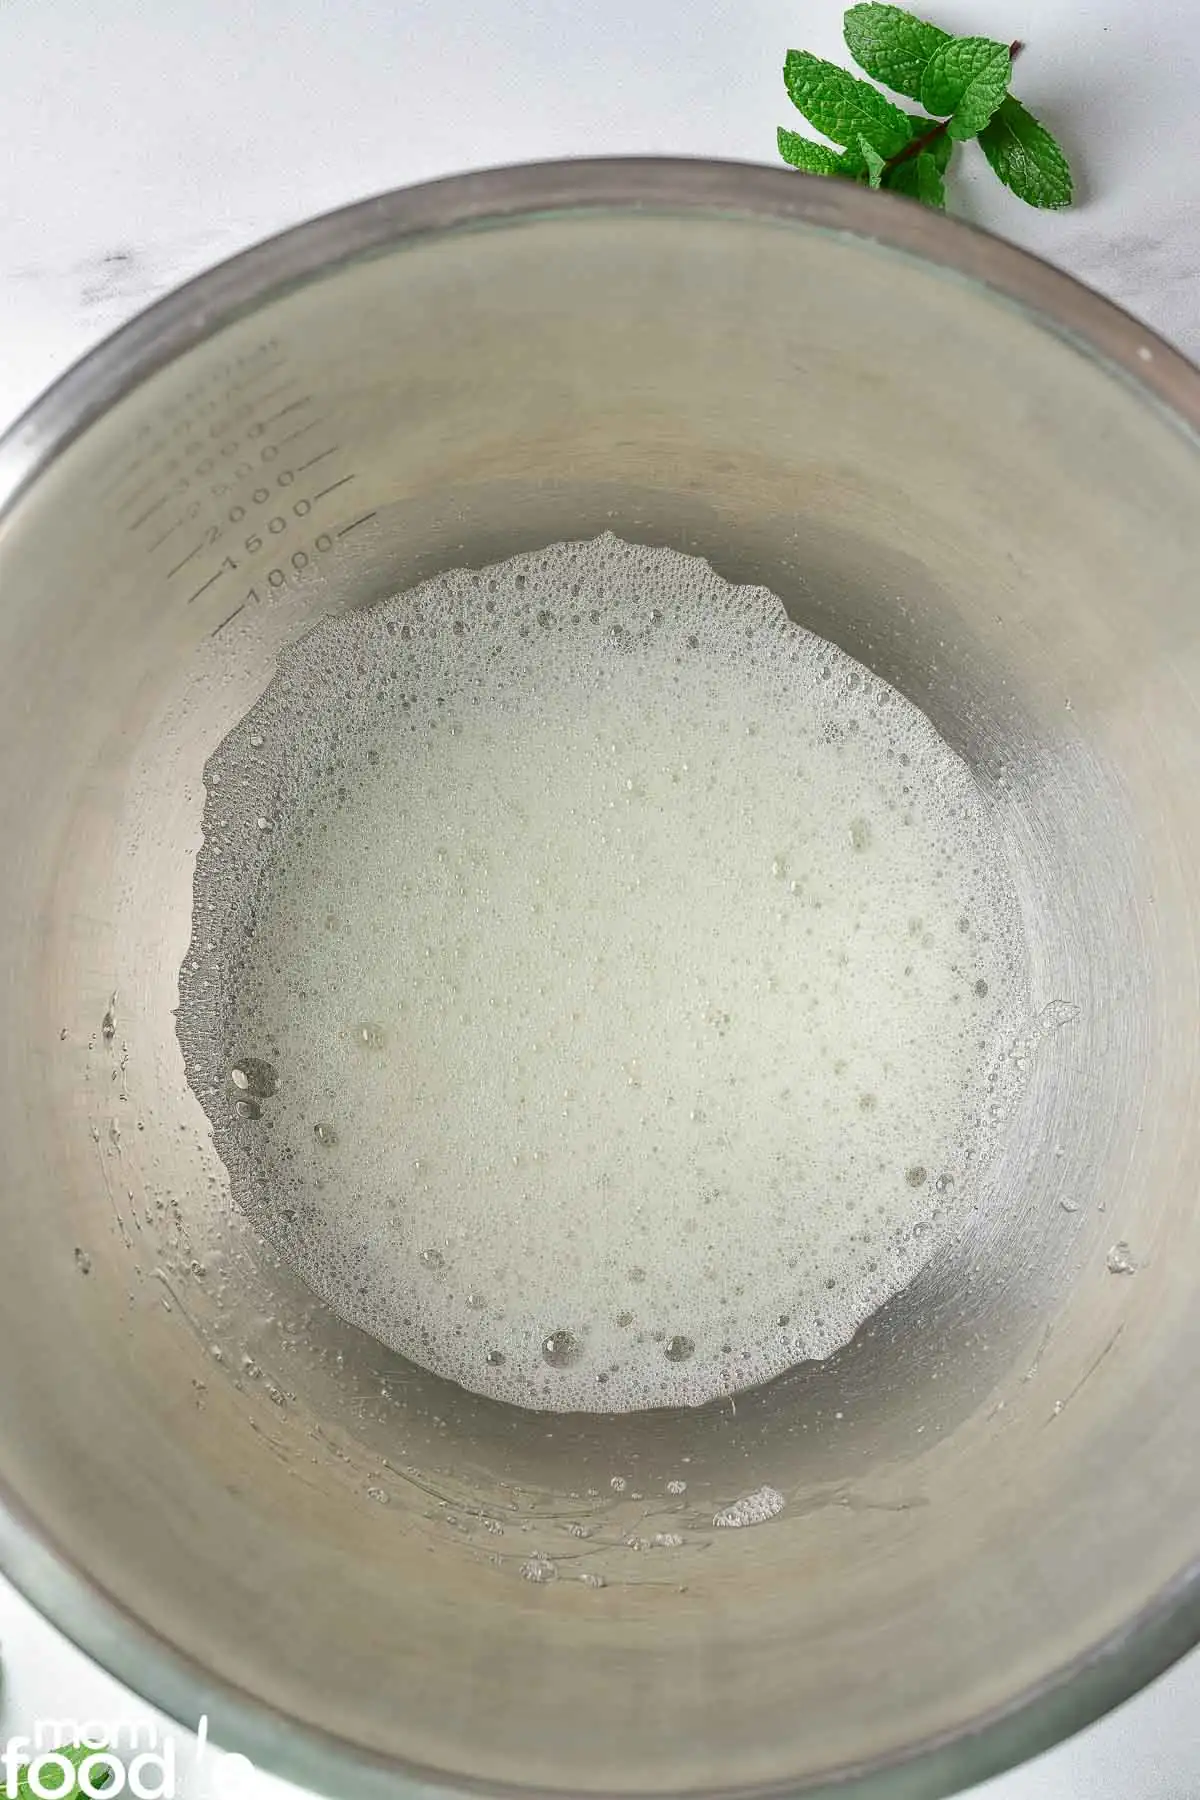
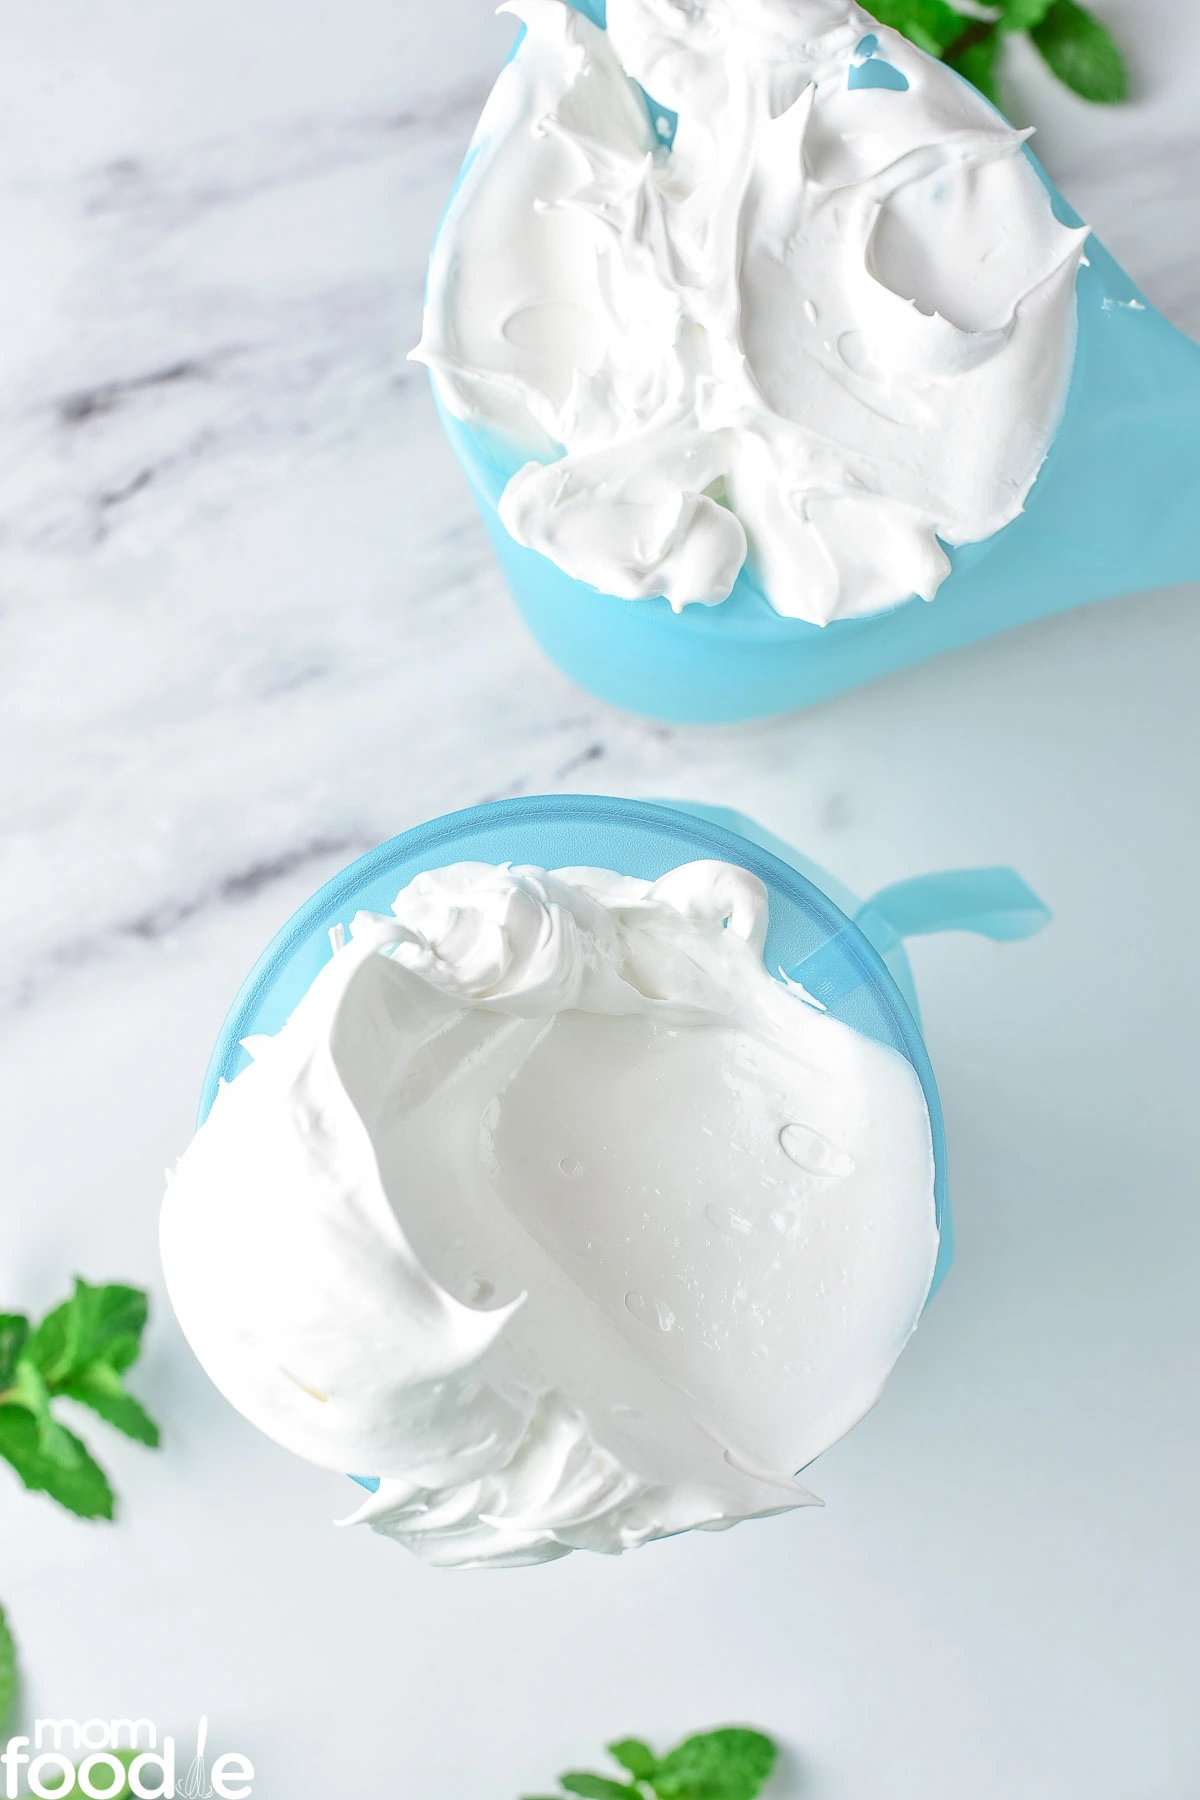
Preheat the oven to 260 degrees F. Pour the egg whites into a large bowl and add the cream of tartar. Beat the egg whites until foamy.

Gradually add powdered sugar to the beaten egg whites and continue beating until fluffy and stiff peaks form. Then add cornstarch and mix until well combined.
Transfer the meringue mixture to a piping bag fitted with a large star nozzle.
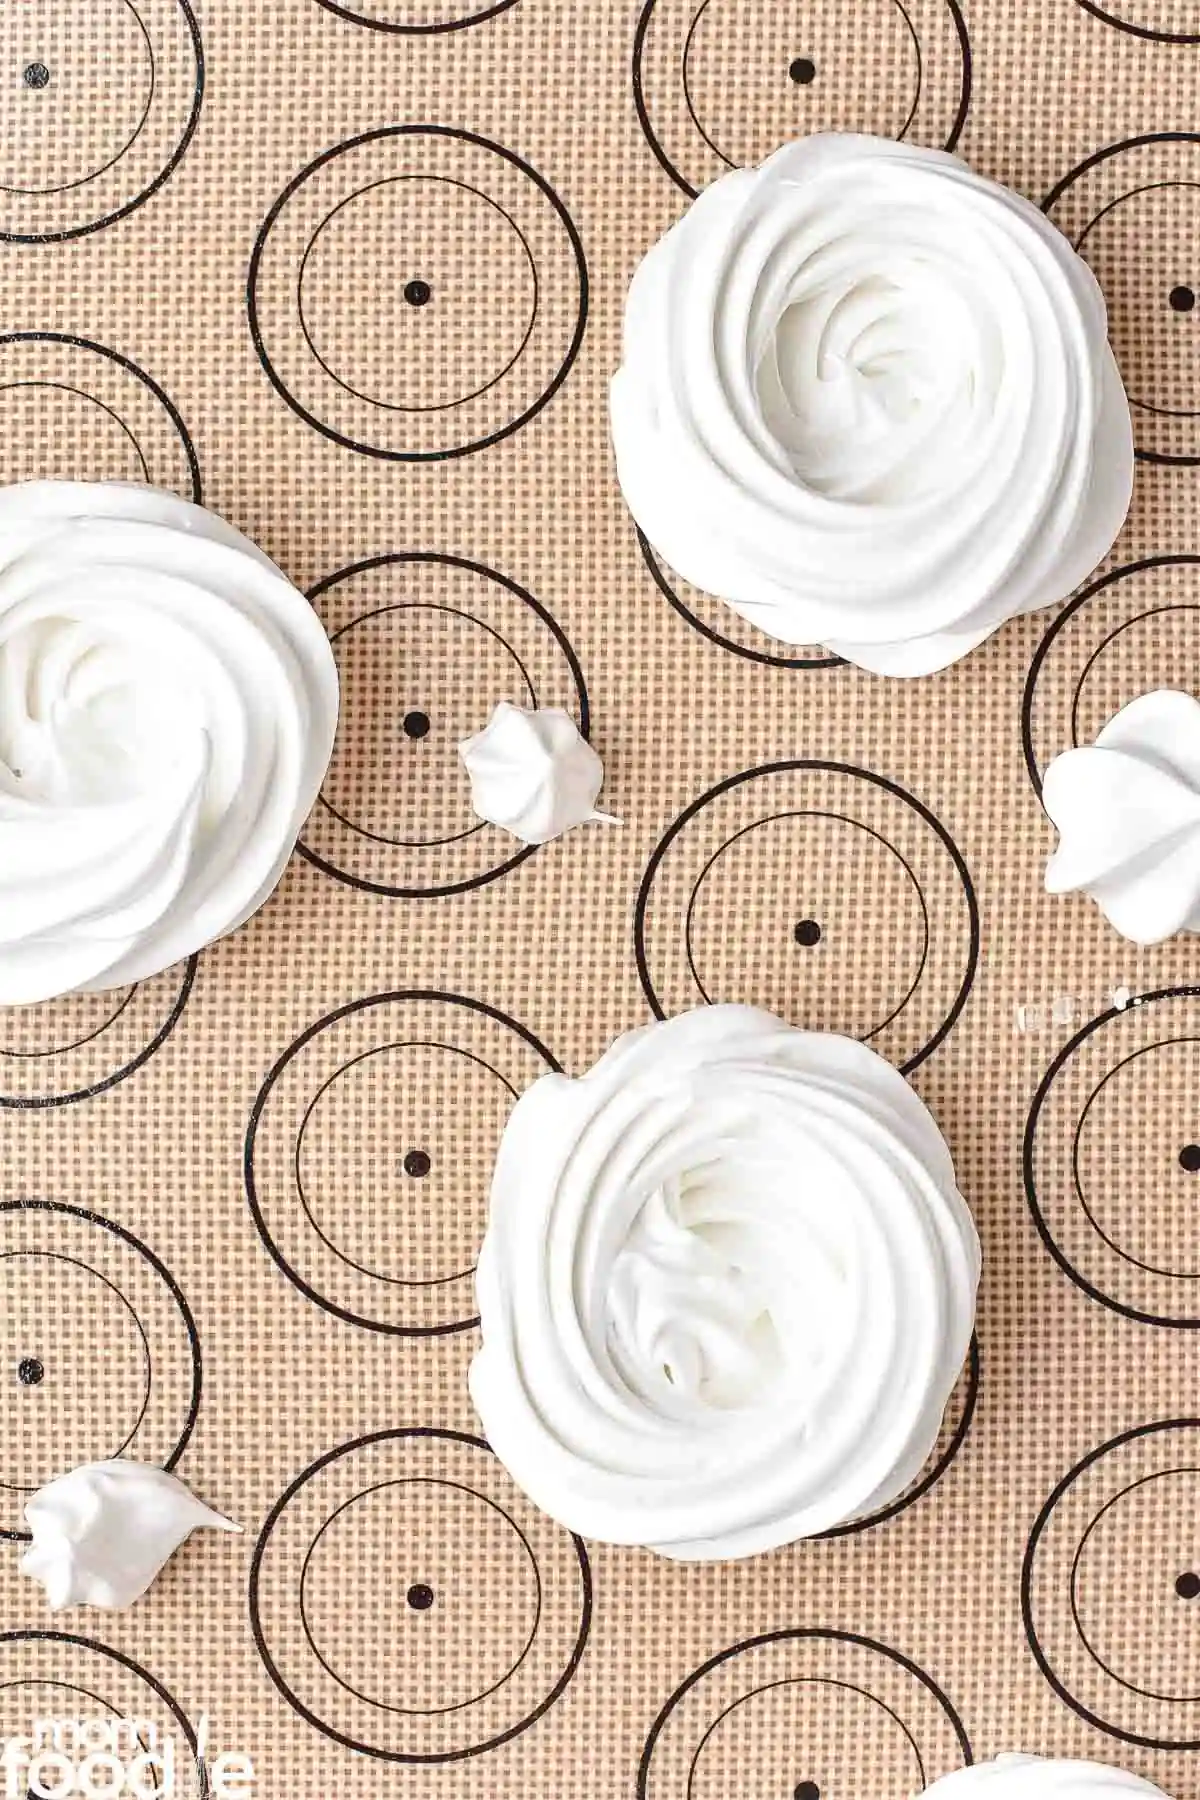
Pipe the meringue onto a baking sheet lined with a silicone mat or parchment paper. Swirl on the bottom along with 2-3 turns for the walls of each little pavlova. Leave space between each as they will expand a little while baking.
Place in the preheated oven and bake for 10 minutes at 260 degrees F, then reduce oven temperature to 180 degrees and bake another 30 minutes. Turn the oven off. Leave the pavlovas in the oven with door ajar. Allow the meringues to cool completely before removing (30 minutes minimum, longer is good).
Making the Cream Filling
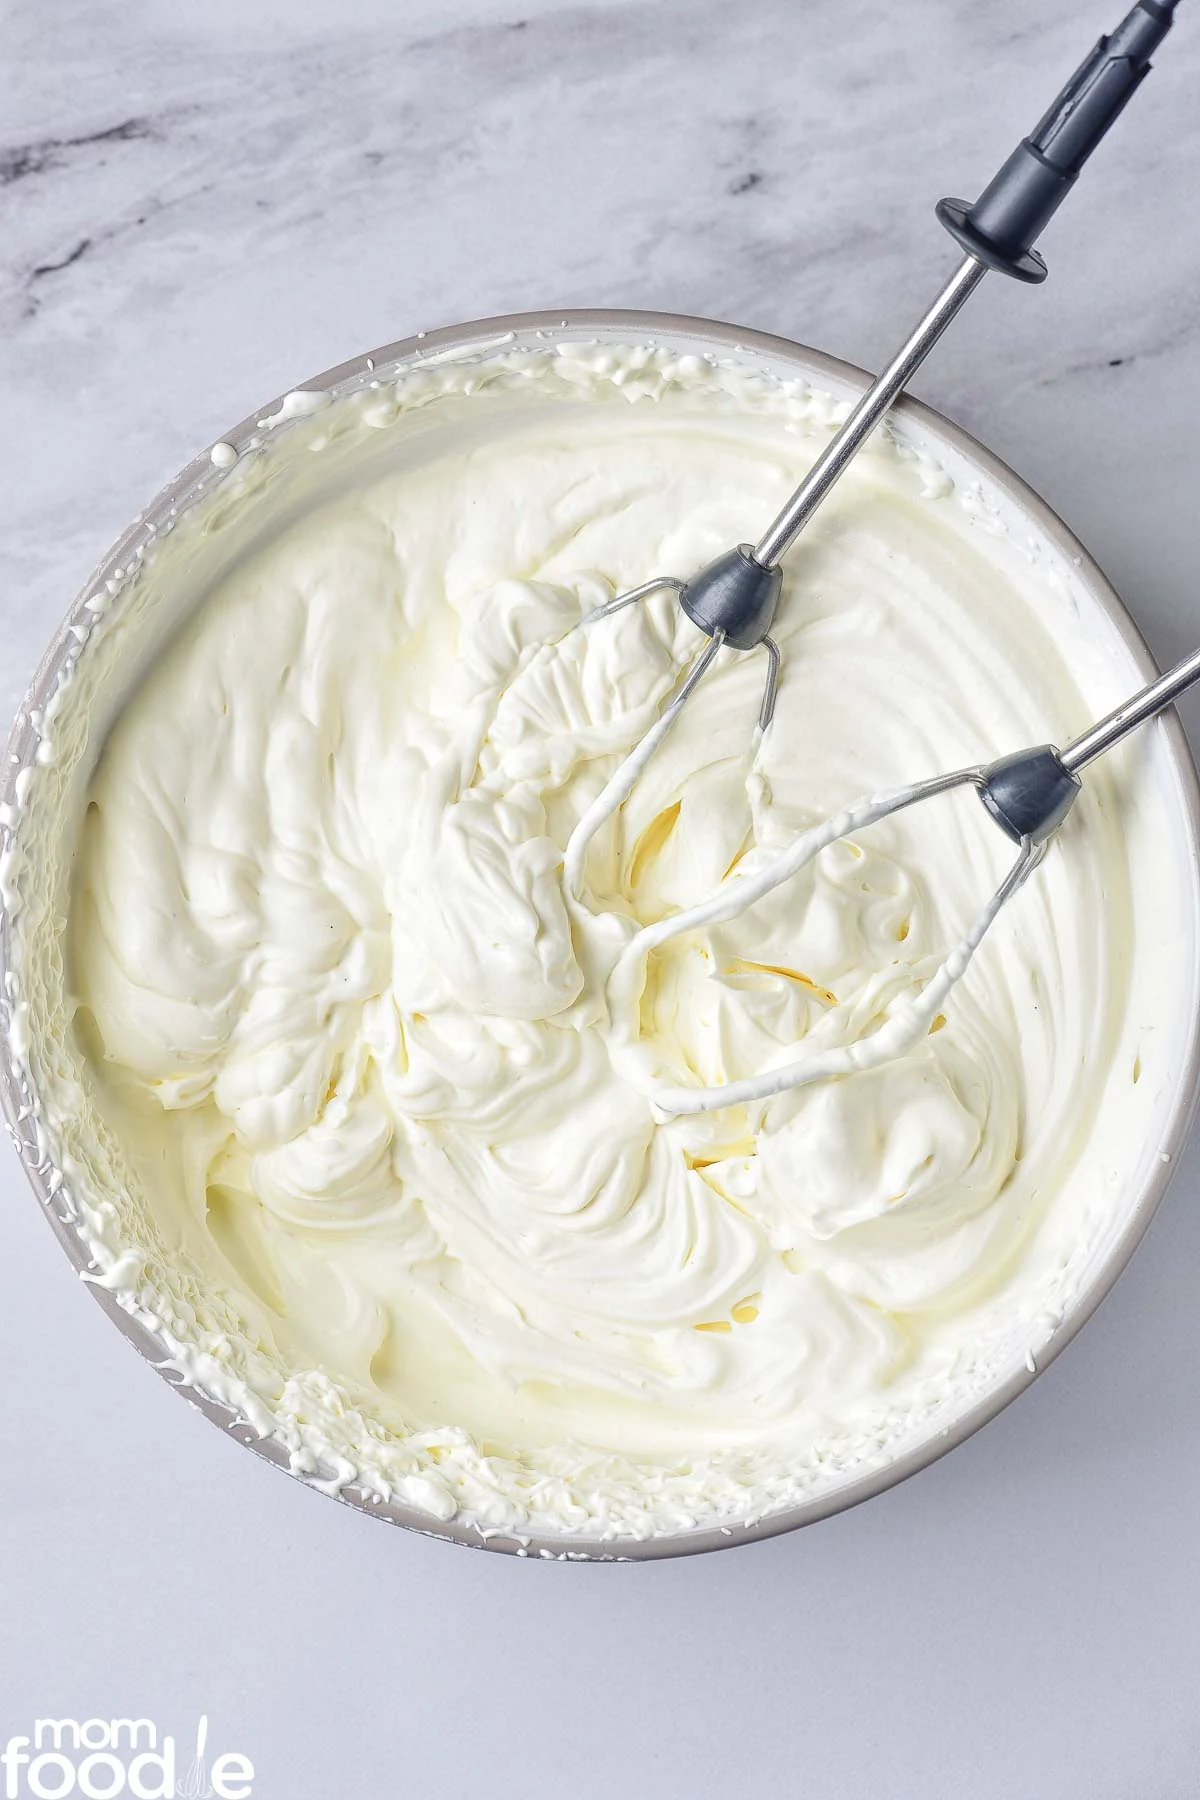
Pour the whipping cream and vanilla into a large mixing bowl (a cold bowl works best), beat on high speed until soft peaks form, then gradually add the powdered. Continue whipping until fluffy, taking care not to over whip the cream. Timing varies from 2-4 minutes.
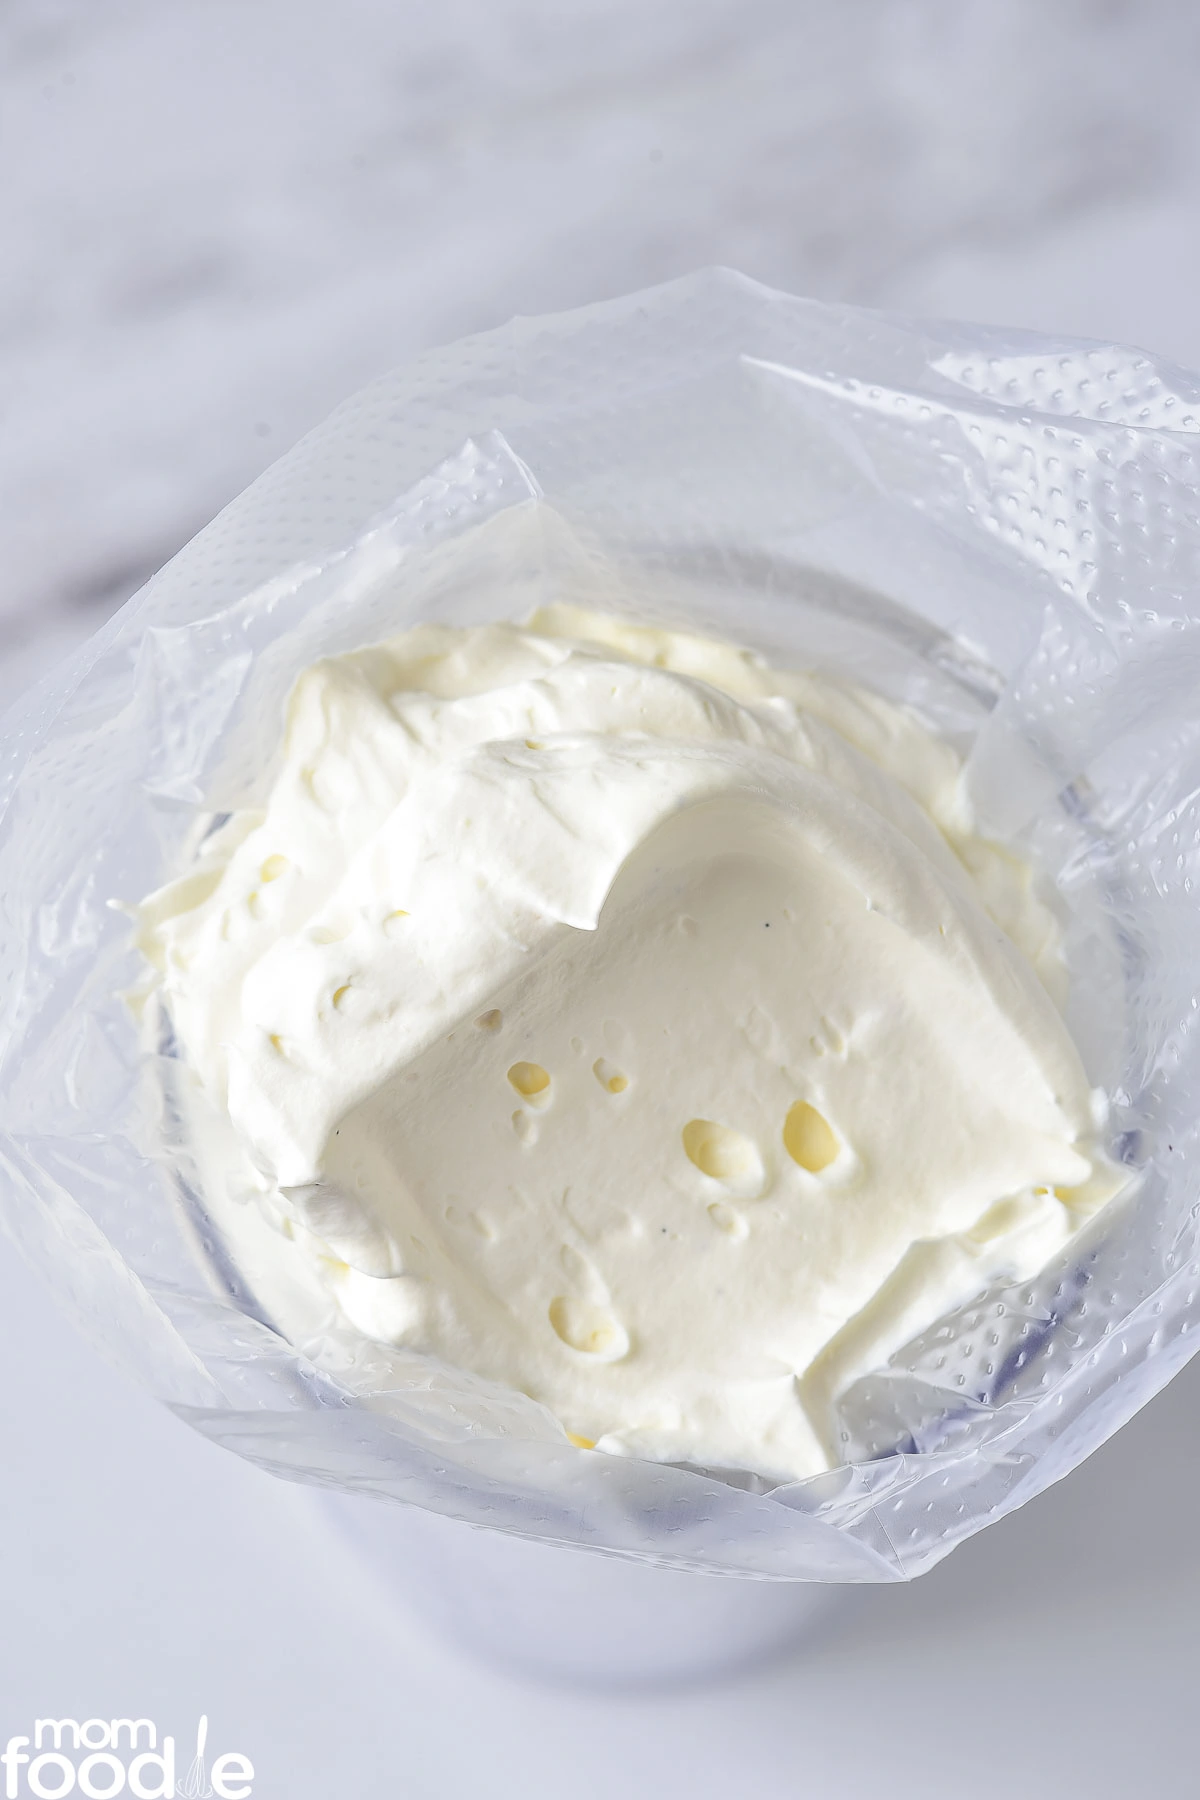
Transfer the fresh whipped cream to a piping bag fitted with a star nozzle.
Assembly
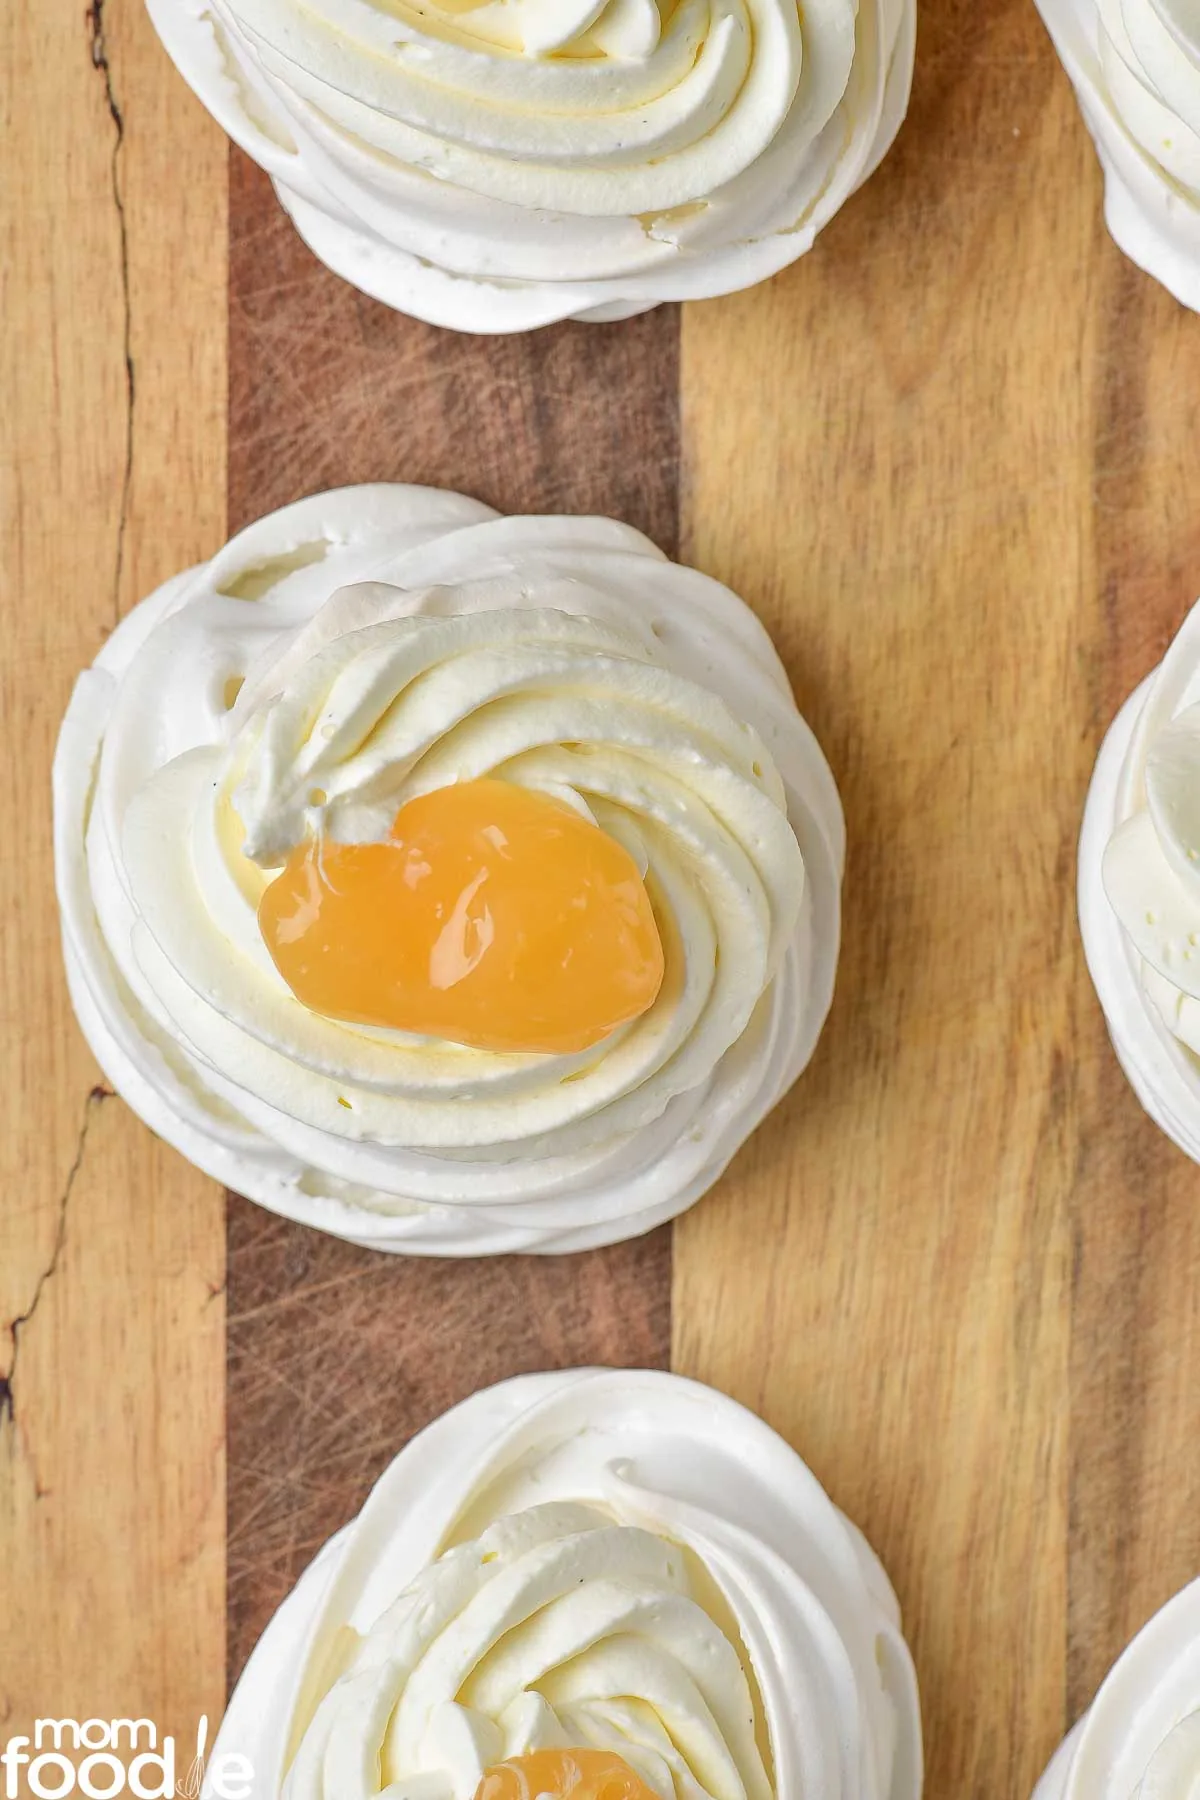
Make sure the pavlova meringues are completely cool before filling with lemon curd, whipped cream and fruit.
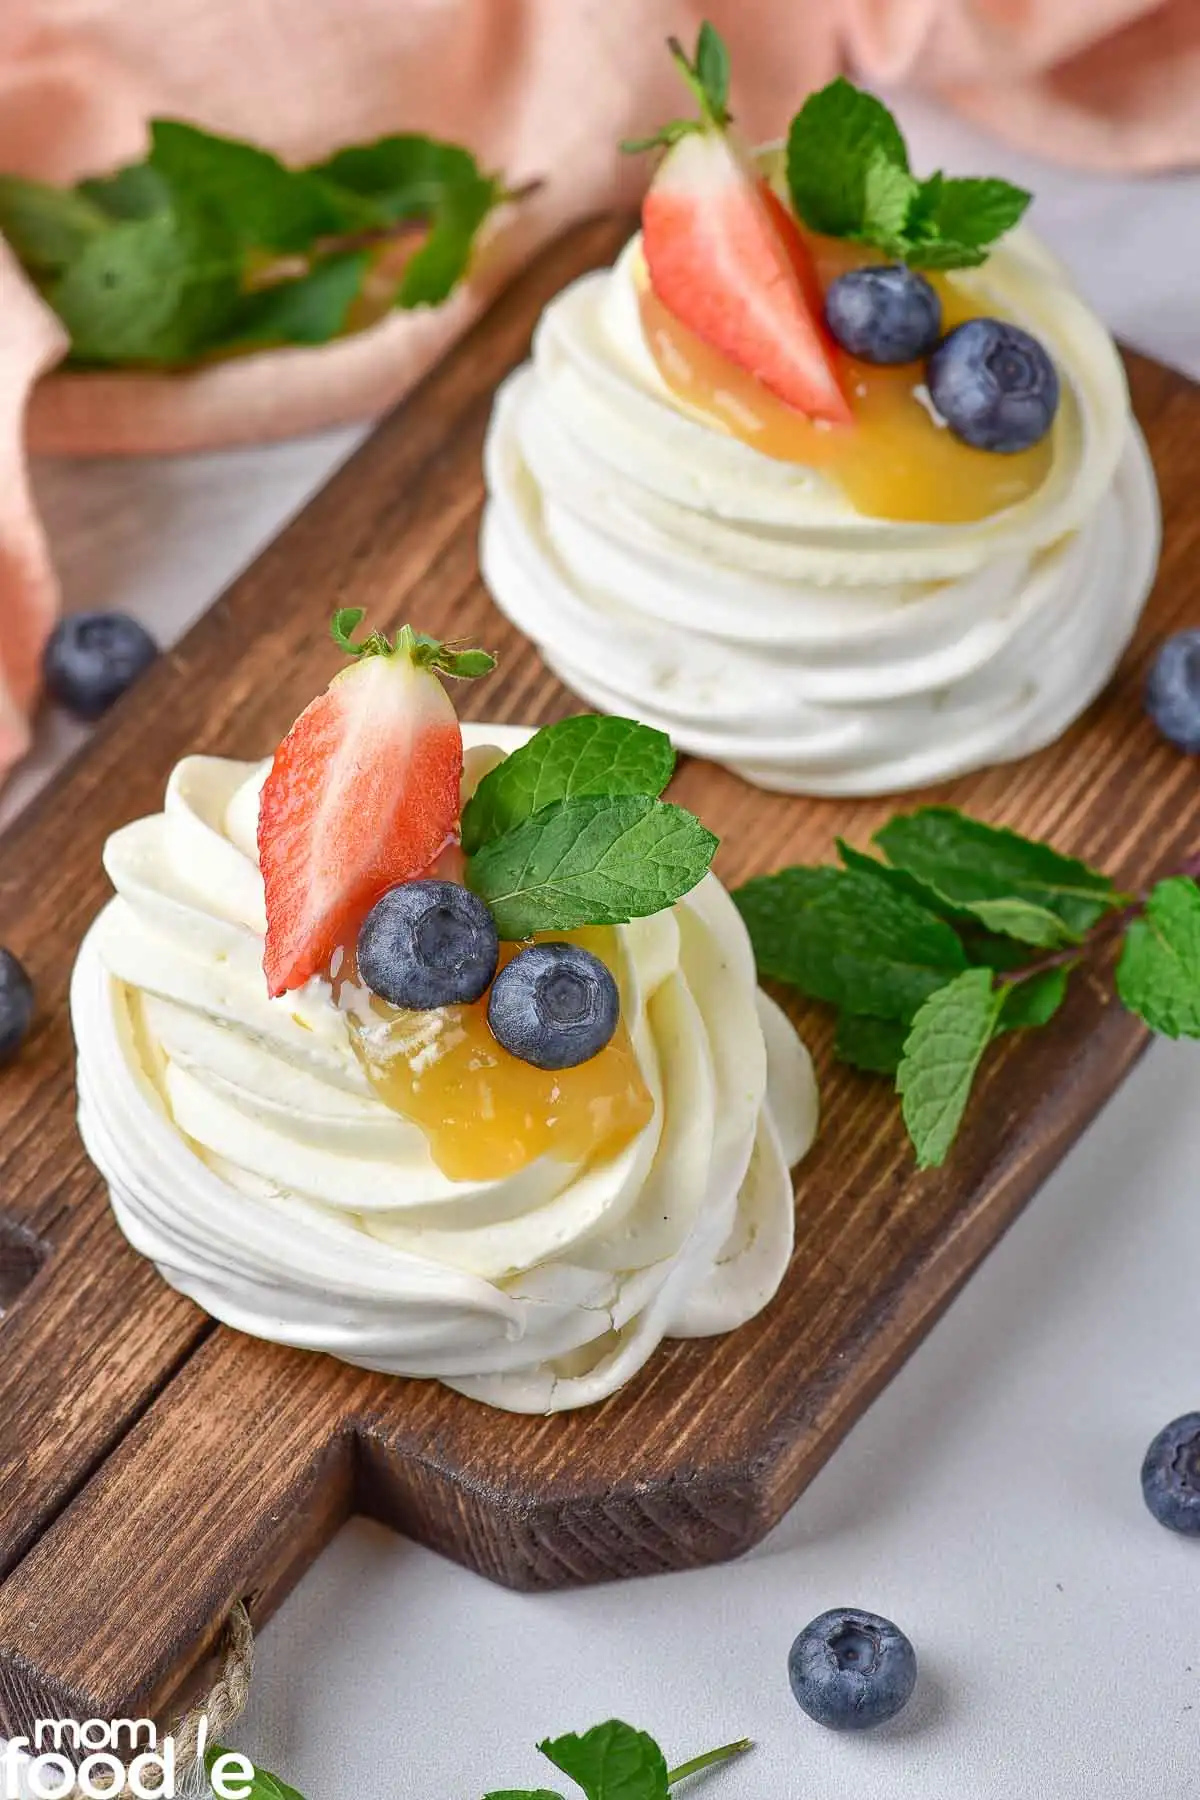
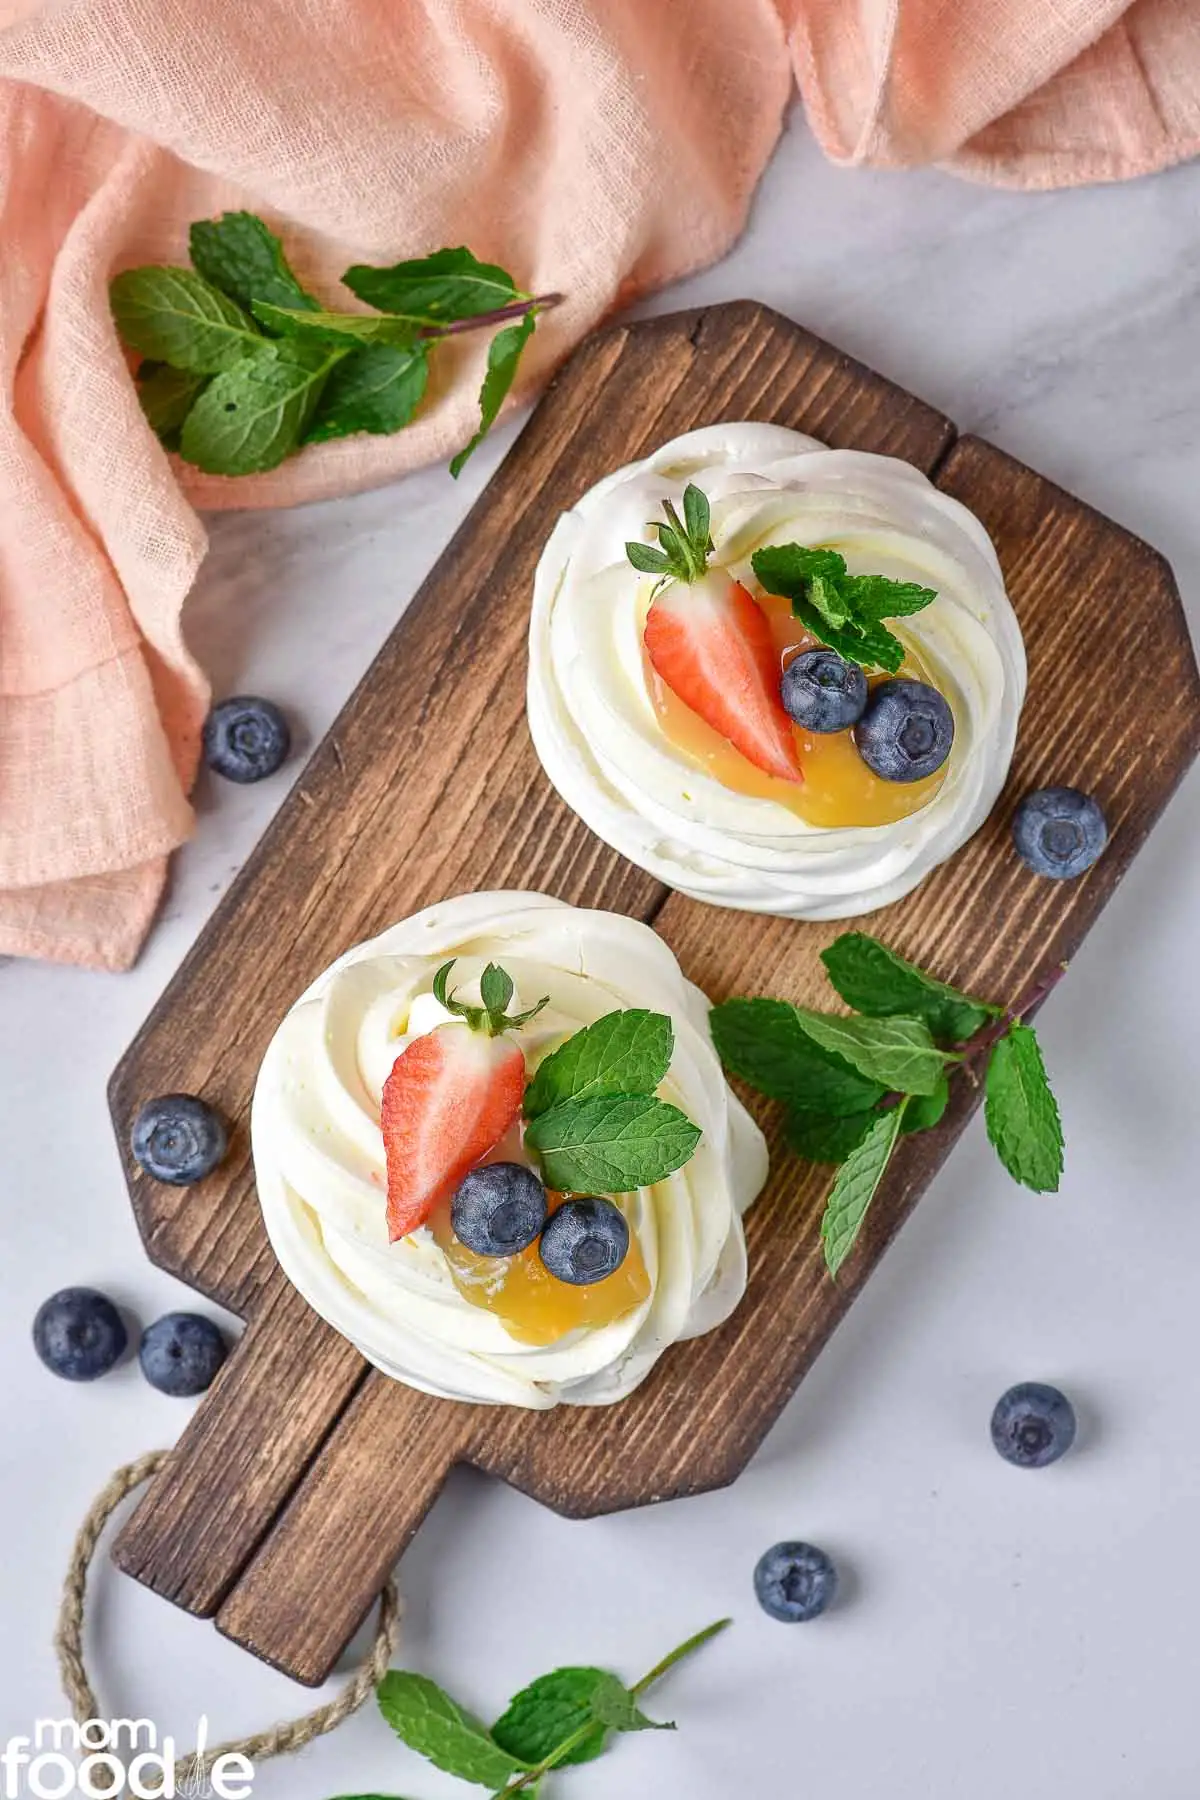
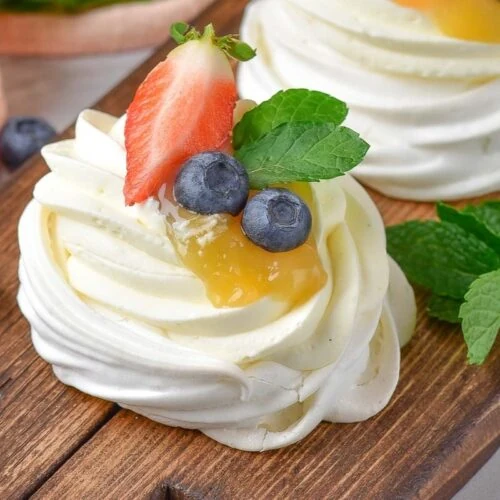
Top the pavlovas as desired - fresh berries, sliced fruit, fresh mint leaves, almond flakes, powdered sugar, honey or syrup. It is best to serve immediately and not store them in the refrigerator for more than a few hours.

Meringue is typically light airy and crunchy throughout, while a pavlova has a crunchy exterior with a soft marshmallow-like center. Pavlovas are often decorated with fresh fruits, nuts, jams, curds or other toppings.
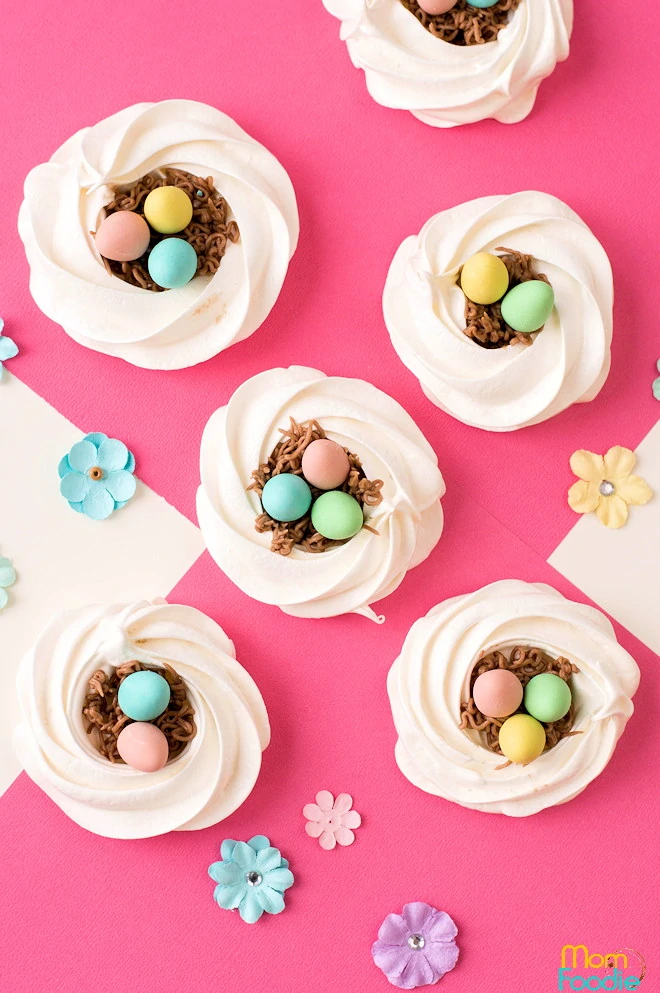
See my Easter Meringue Nests, if those seem more suited to your needs.
Yes, you can make pavlova shells ahead of time. However, you must wait to assemble the dessert until shortly before serving. The meringue shells can be baked up to two to three days in advance and stored in an airtight container at room temperature. The whipped cream and lemon curd should not be added any earlier than a few hours before serving as the moisture will break down the meringue.
Mini Pavlovas
Equipment
- stand mixer with beater attachment or handheld electric mixer
- silicone liner or parchment
- sheet pans
- piping bags and large star piping tip
Ingredients
- ¾ cup powdered sugar
- 4 egg whites room temperature
- 2 teaspoon cornstarch
- ¼ teaspoon cream of tartar
- ¼ cup lemon curd
- ½ cup fresh berries or sliced fruit
- fresh mint for decoration optional
Whipped Cream
- 1 cup heavy whipping cream
- ¼ cup powdered sugar
- 1 teaspoon vanilla extract or paste
Instructions
- Preheat the oven to 260 degrees F. Pour the egg whites into the bowl, add cream of tartar and beat the egg whites until foamy.
- Gradually add powdered sugar to the beaten egg whites and continue beating until fluffy and stiff peaks form. Then add cornstarch to the egg whites and mix until well combined.
- Transfer the meringue mixture to a piping bag fitted with a star nozzle.
- Pipe the meringue onto a baking sheet lined with a silicone mat or parchment paper. Swirl on the bottom along with 2-3 turns for the walls of each little pavlova. Leave space between each as they will expand a little while baking.
- Place in the preheated oven and bake for 10 minutes at 260F, then reduce oven temperature to 180 degrees and bake another 30 minutes. Turn the oven off. Leave the pavlovas in the oven with door ajar. Allow the meringues to cool completely before removing (40-50 minutes minimum, longer is good).
- Pour the whipping cream and vanilla into a large mixing bowl, beat on high speed until soft peaks form, then gradually add the powdered. Continue whipping until fluffy, taking care not to over whip the cream. Timing varies from 2-4 minutes.
- Transfer the fresh whipped cream to a piping bag fitted with a star nozzle.
- Make sure the pavlova meringues are completely cool before filling with lemon curd, whipped cream and fruit.
- Top the pavlovas as desired - fresh berries, sliced fresh fruit, mint leaves, finely chopped nuts, powdered sugar, honey, jam or syrup. It is best to serve these cakes immediately and not store them in the refrigerator for more than a few hours.

Leave a Reply