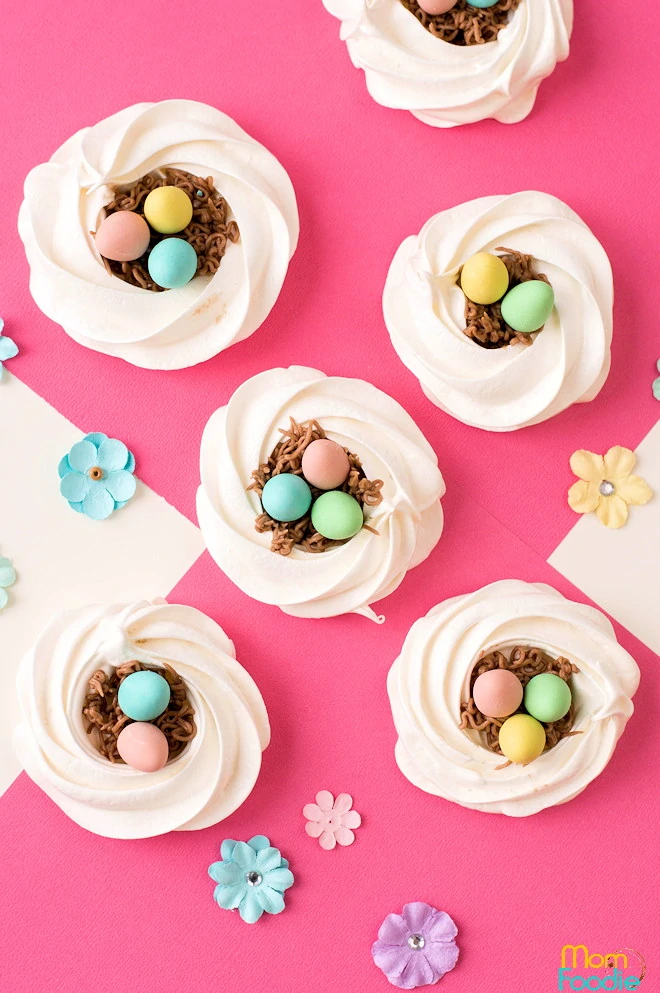
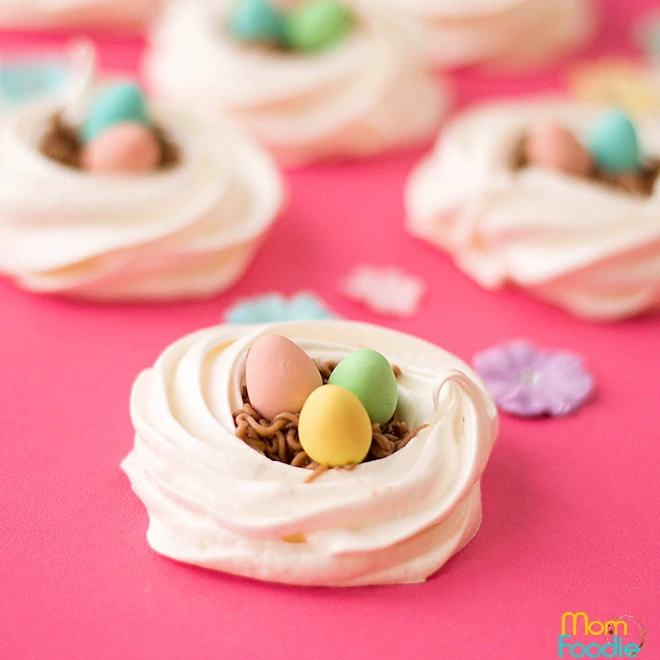
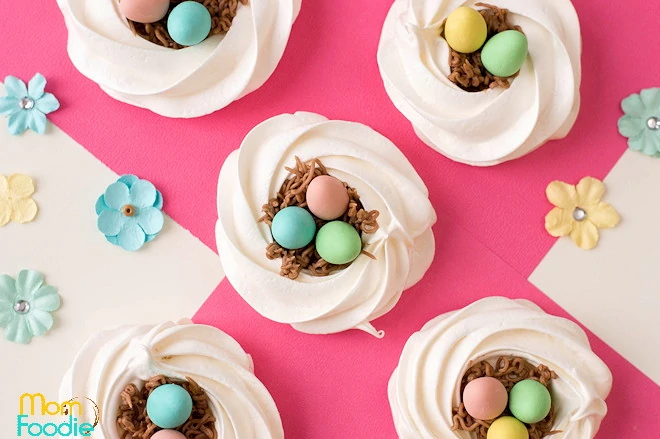
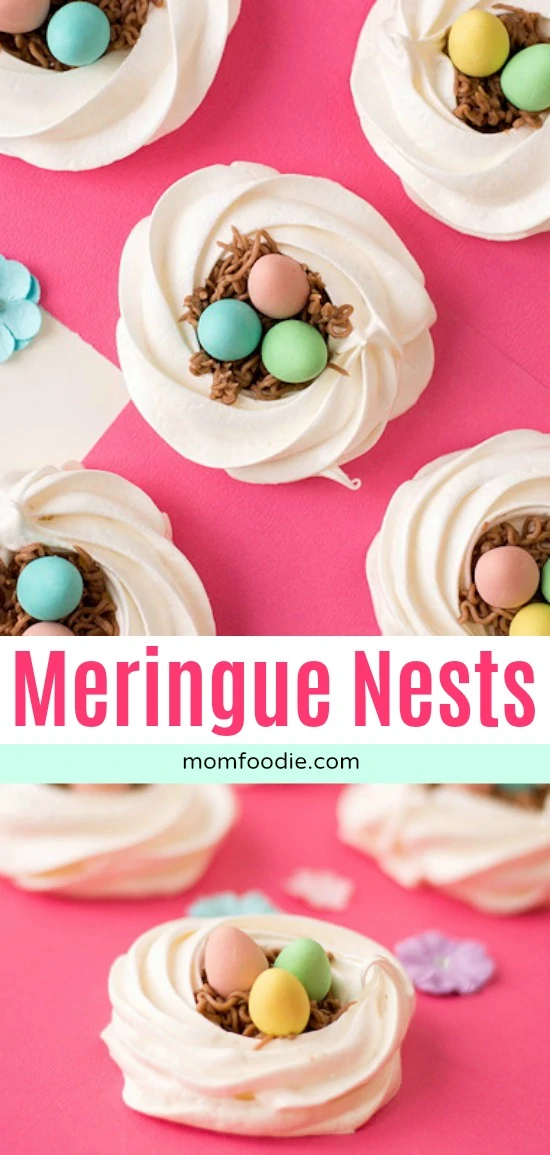
These cute meringue nests are perfect Easter cookies to celebrate the holiday. Not only are they visually appealing, these meringue cookies are also gluten free. They look fabulous on a an Easter dessert table, at place settings or simply put out for guests during the season.
Meringue Nests
Not only are these nest shaped meringue cookies perfect for Easter, they are also nice choices for spring celebrations, Mother's Day and even weddings. The crisp meringues are a cute choice for tea parties as well. For events other than Easter I would lean toward natural colored mini eggs to fill your nests.
Lemon curd and fresh fruits are fantastic filling alternatives for the nests, though you may prefer to make my mini pavlovas for those fillings, as the centers are softer than with the meringues. Any filling that would typically go in a Pavlova would work in these, even Biscoff as I did in this Biscoff Peach Pavlova. While I think the natural white of the meringue is lovely for nests, if you want to tint them like these Valentine Heart Meringues were that is easily done.
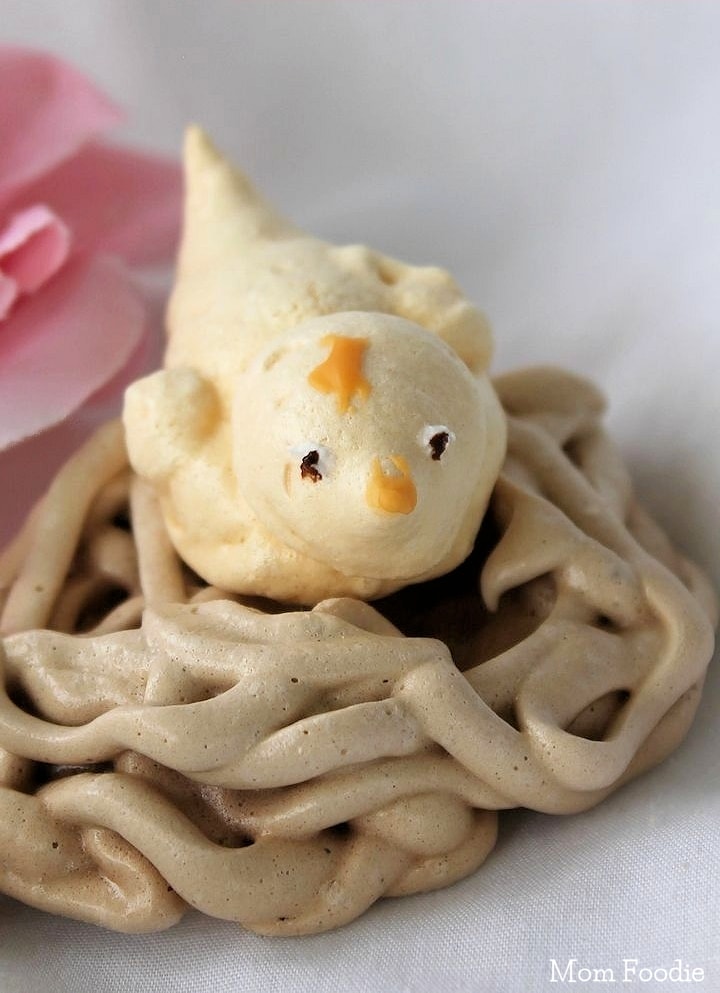
If you want to play around further with meringue nests and even make some meringue birds for them check out this older post of mine >> Meringue Birds & Nests
How to Make Meringue Nests for Easter
These Easter Meringue Nests while simple to make do require a good deal of patience. Meringue cookies are more about process than ingredients.
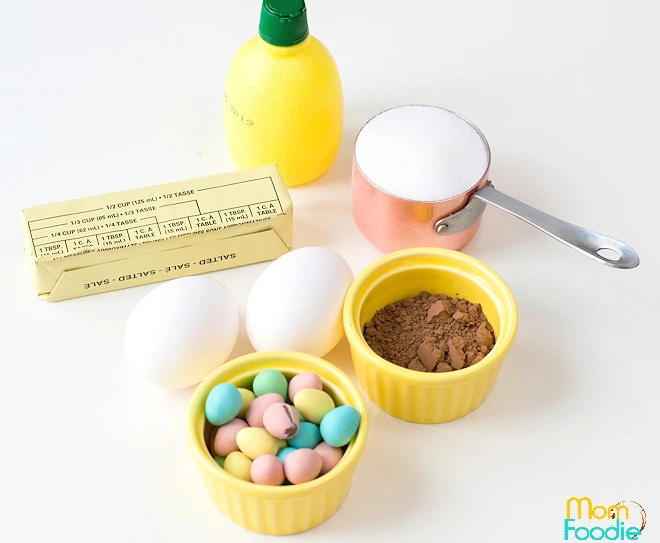
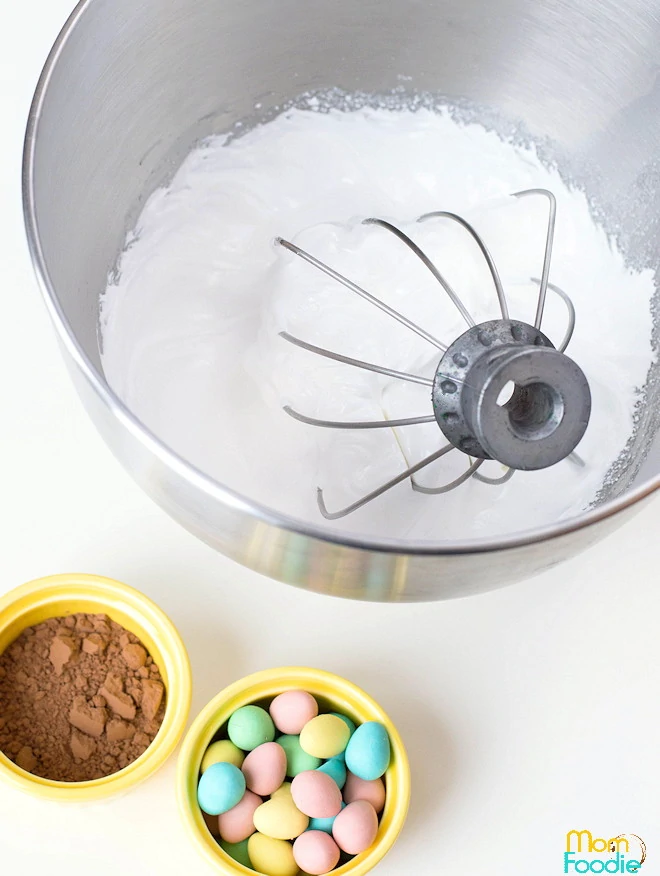
Here are the ingredients to make the meringues and the frosting and eggs to fill them with.
NOTE: While lemon juice is more readily available in most kitchens, if you prefer to use cream of tartar instead, use half the amount vs. the lemon juice. Either way, the purpose is simply to provide acid.
Beat the whites and lemon juice on low speed until foamy. Then gradually raise speed to med-high or high while adding sugar by the tablespoon full and beat egg whites until stiff peaks form.
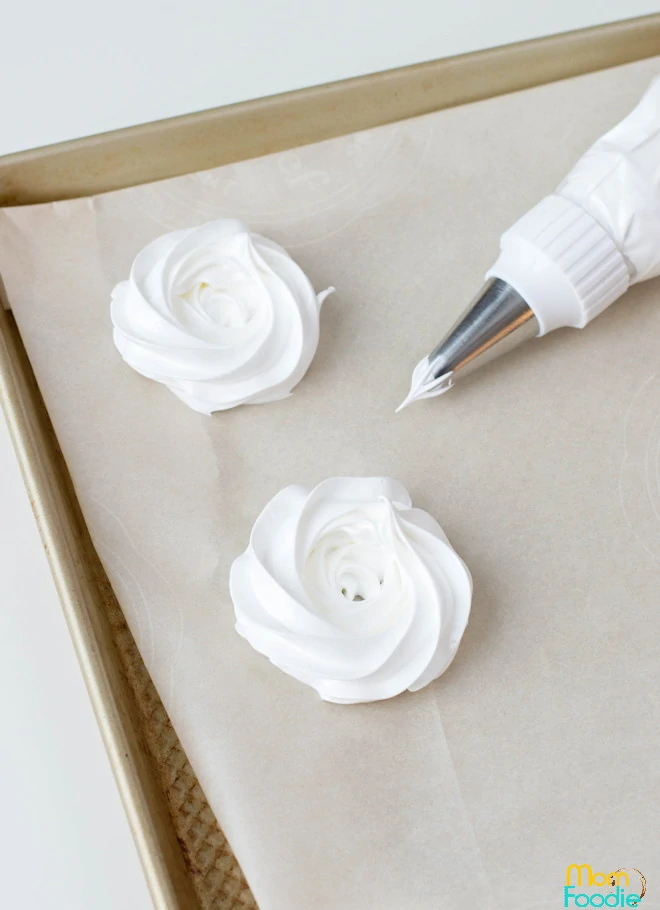
Scoop the meringue mixture into a pastry bag fitted with a large star tip. Pipe a rosette, then pipe a circle on top of rosette leaving a space inside to fill. Repeat until you have used up the meringue.
Bake at 200 for 2 hours, then turn oven off and leave the meringue cookies inside for about 40 minutes to slowly cool down. It is important not to remove the nests until they are fully cooled.
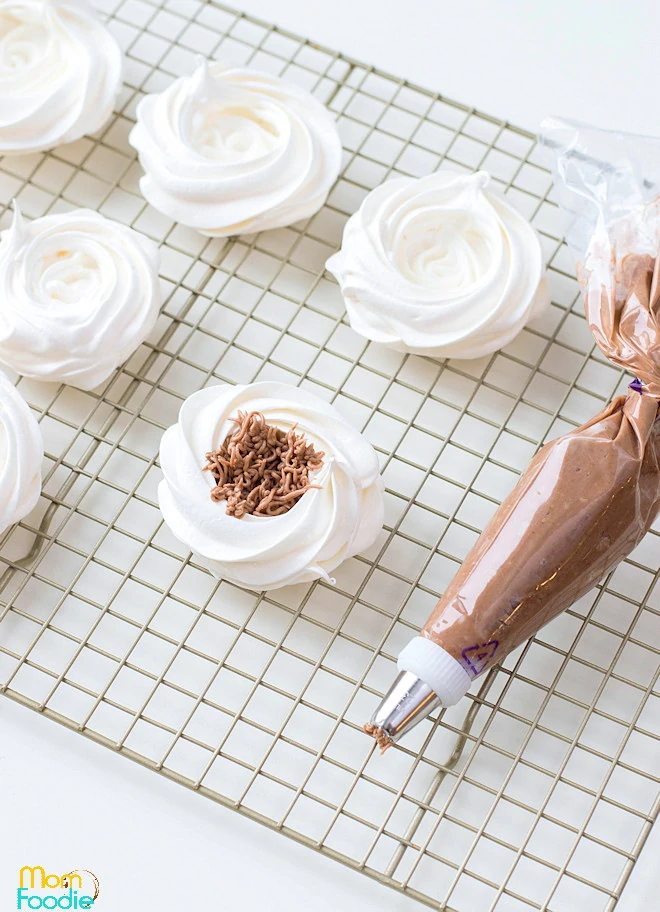
Mix up the simple frosting and scoop into a piping bag ideally fitted with a multi-opening tip such as the Wilton 233 tip. Pipe the frosting into center, then nestle 2-3 eggs in each nest.
Meringue Nest Storage Tips
Here are a few tips on storing your meringue cookies.
Can you prepare meringue in advance?
Yes, you can make these ahead of time. If storing for longer than a few days it is best to not add the nest filling and eggs. The meringue portion can hold for several weeks if properly stored.
How do you store meringue nests?
- Make sure your meringue nests are fully cooled before storing. This is essential.
- Line an airtight container with parchment paper and add a layer of the nests.
- Add another sheet of paper and top with meringue cookies, repeat until all the meringues are layered.
- Seal and store for 2- 3 weeks. If you have a spare silica packet on hand, tossing it in with the cookies will help ensure any remaining moisture does not effect the meringue.
Can you freeze meringue nests? Can meringue nests be refrigerated?
Yes, meringue nests can be frozen or refrigerated, but they must be stored in an airtight container and separated with parchment as directed above. The environments are high humidity and can make the meringue sticky and unappealing if not protected by an airtight seal.
Frozen meringue cookies are good up to a month.
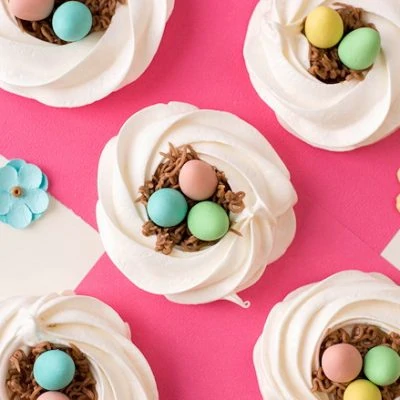
Easter Meringue Nests
Ingredients
- 2 egg whites room temperature
- ¼ teaspoon lemon juice
- ½ cup granulated sugar
- ¼ cup softened butter (½ stick)
- 1 cup confectioners’ sugar
- 1 tablespoon cocoa powder
- 1-2 tablespoon milk
- Candied Easter mini eggs
Supplies
- mixer
- Wilton 1M open star tip
- Wilton multi-opening tip #233 , or pipe through tip or baggie with tiny round hole
- piping bags
Instructions
- Prepare a baking sheet with parchment paper or a silicone liner and set aside. Preheat your oven to 200 degrees F.
- Separate your eggs and pour the egg whites into a bowl (you will only need the egg whites for this recipe).
- Using an electric mixer, start beating egg whites on slow and add the lemon juice while beating. Continue until foamy.
- Slowly add the granulated sugar, while gradually increasing the beater speed to high.
- Beat the egg white mixture until it forms stiff peaks. This should take about 10 to 15 minutes.
- Once the meringue mixture is done, scoop it into a piping bag, with Wilton’s 1M tip attached.
- Pipe out circular rosettes onto your lined baking sheet, about 2 inches in diameter.
- Once your rosettes are piped out, pipe out a second layer around the circumference of each rosette. This will complete your nest shape and leave a hollowed center to put your buttercream and candied eggs in.
- Bake the meringue for 2 hours.
- Once the 2 hours are up, turn off the heat and let sit in the oven for 35 to 40 minutes.
- Remove from oven and place on wire rack to ensure they are cooled completely.
- Using an electric mixer, beat together butter, confectioners’ sugar, cocoa powder and milk.
- The chocolate buttercream is ready once the ingredients are completely combined, smooth and for semi-stiff peaks.
- Scoop the buttercream into a piping bag fitted with a Wilton’s icing tip #233.
- Pipe the frosting into the center of each meringue nest. Adhere a few eggs on top of the chocolate frosting in center of each nest.

Marjory says
Great step-by-step information to make these...it's a must for the Easter table.
Linda says
I love the whole idea of these cookies! They are so cute for the Easter table and double bonus that they are gluten-free. I think these are going to be popular with both the young and old.