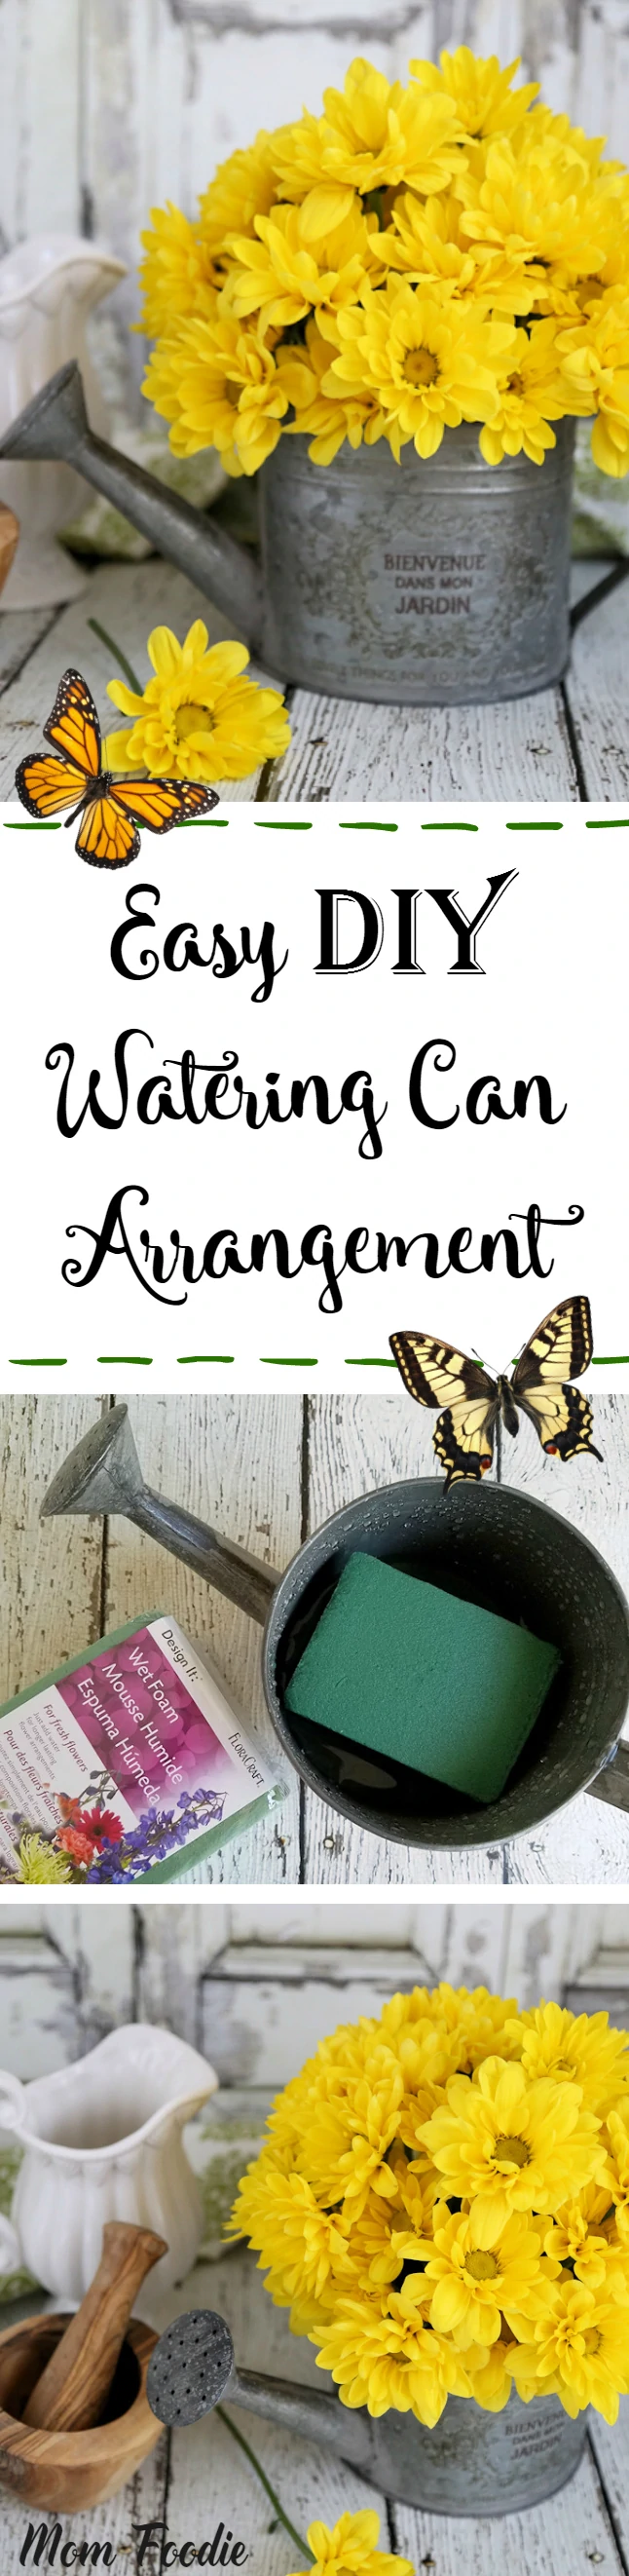
A Watering Can Flower Arrangement is perfect for spring and makes a wonderful DIY Mother's Day Gift. I have purposely kept this easy project as simple as possible, so that even kids can make it themselves. Of course, younger ones will need a bit of adult help.

Making the DIY Watering Can Flower Arrangement
As I mentioned above, this is a crazy easy project. All you need is:
- a watering can (don't even worry if it leaks)
- wet floral foam (also referred to as Oasis)
- flowers
- scissors
- water
If you like to use flower preservative feel free, but personally I don't.
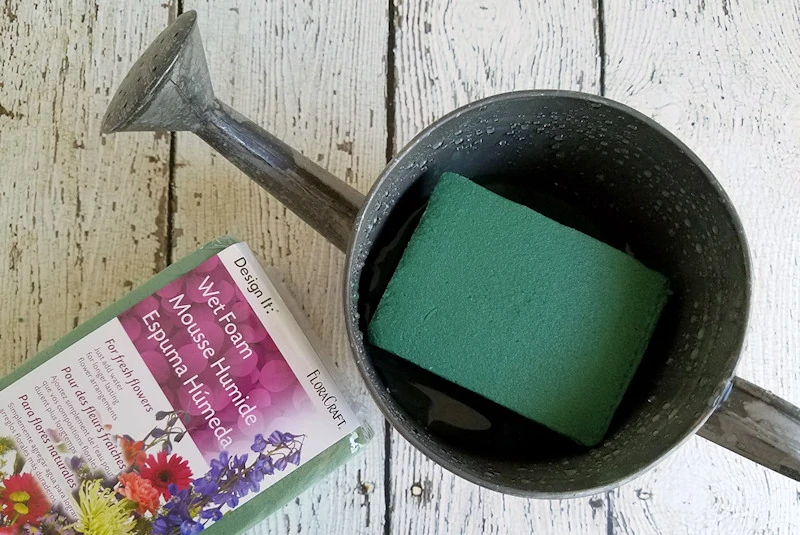
Soak the wet foam in water until it will not absorb more. If your can is water tight, adding a little more water to bottom is nice, but not necessary if you have a bumpy transport or (like mine) you discover the can leaks. The foam holds enough water to keep the flowers fresh for days, and a little more can be added later if need be.
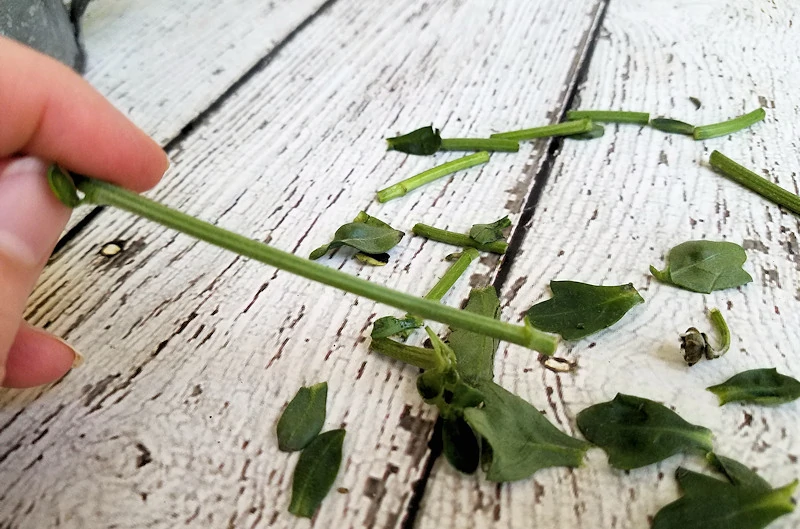
Make sure to trim each flower stem to ensure it can uptake water. Also strip all lower leaves.
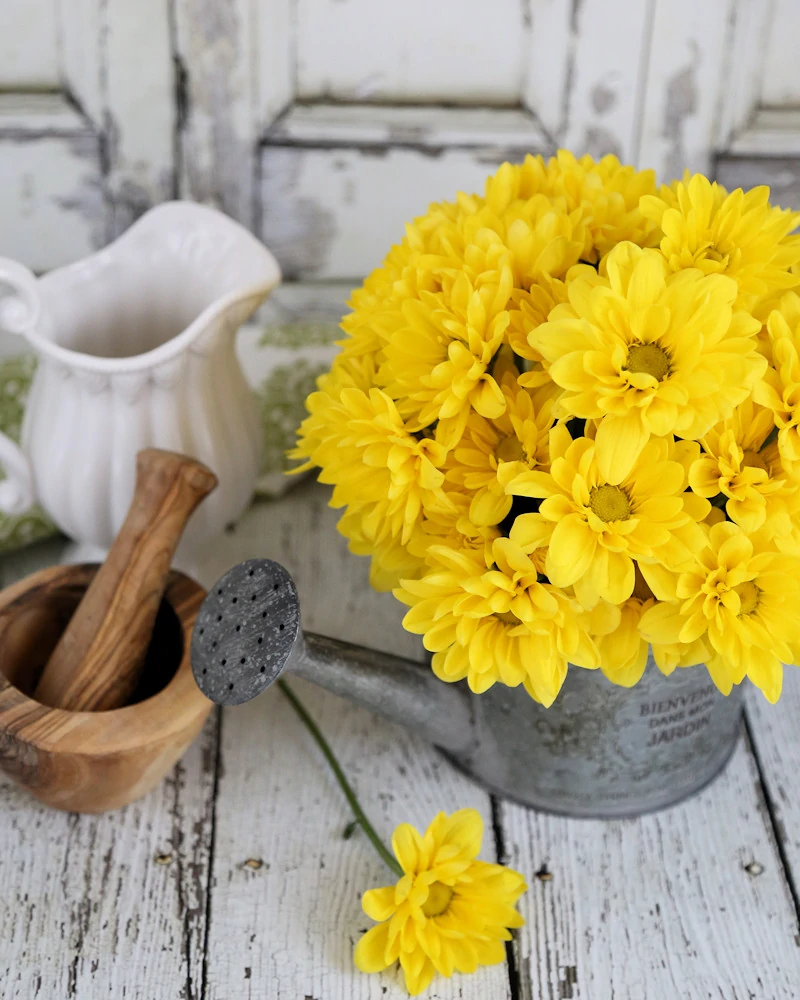
If you have a single color and type of flower as I do here, a simple mounded shape makes for a cute bouquet. If you are working with a mixed bouquet, try and make a simple base from filler flowers and showcase the fancier ones by letting those stick up higher. Don't fret about it. Flowers in themselves are pretty, as long as you don't over pack them, how bad can they look. If you end out with too many, simply toss the rest in a vase.
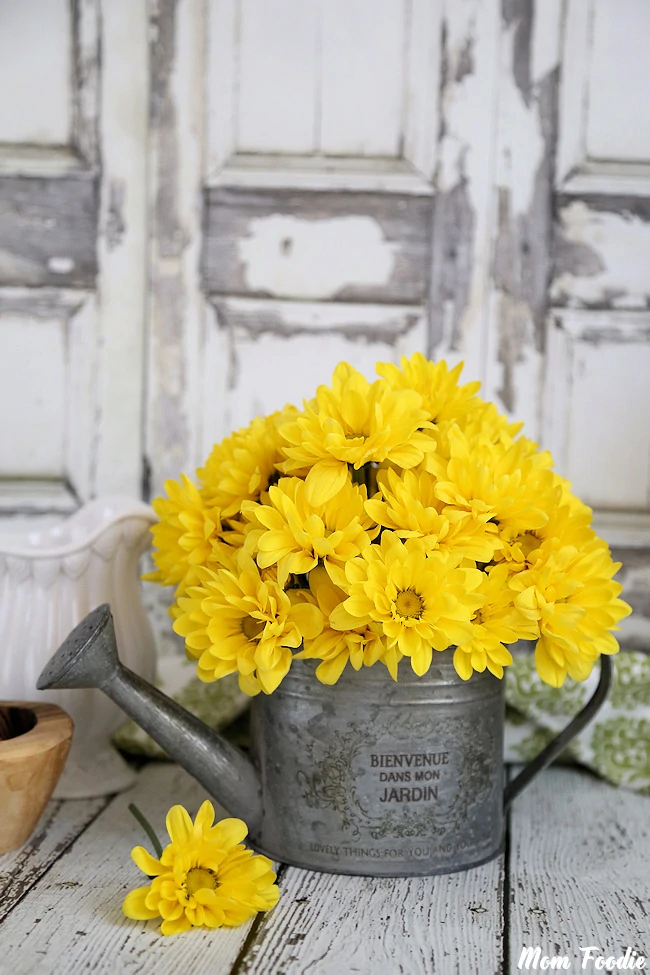
No matter how they come out, I guarantee mom or grandma will love them. They were arranged by one of the people she loves most in the world 🙂


Stephanie R says
This is SO CUTE and such a great gift for mom!