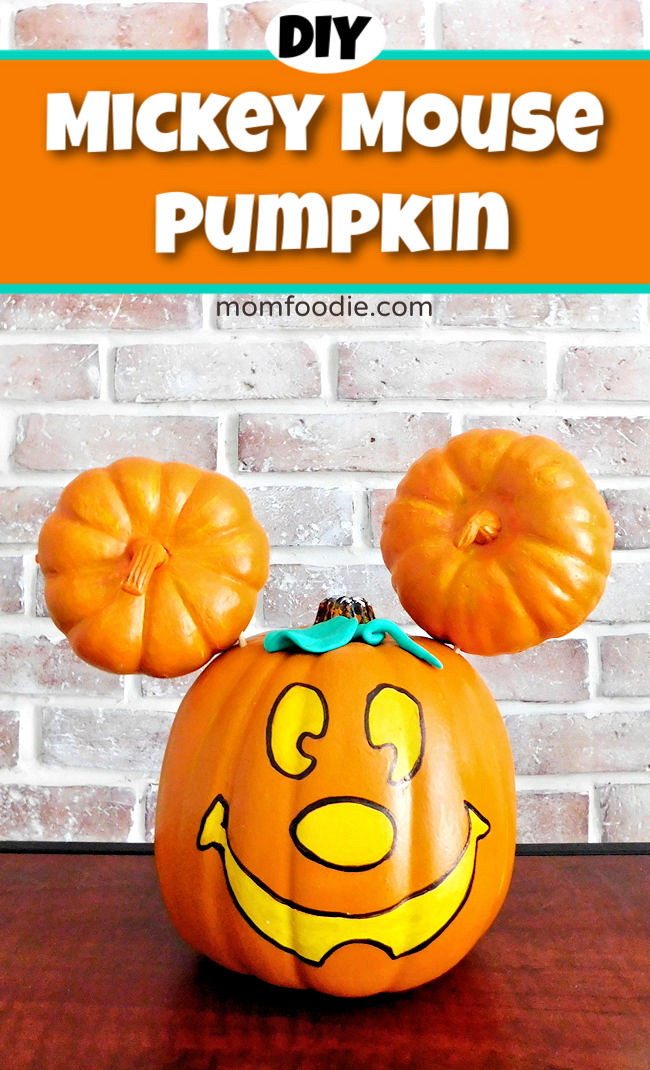
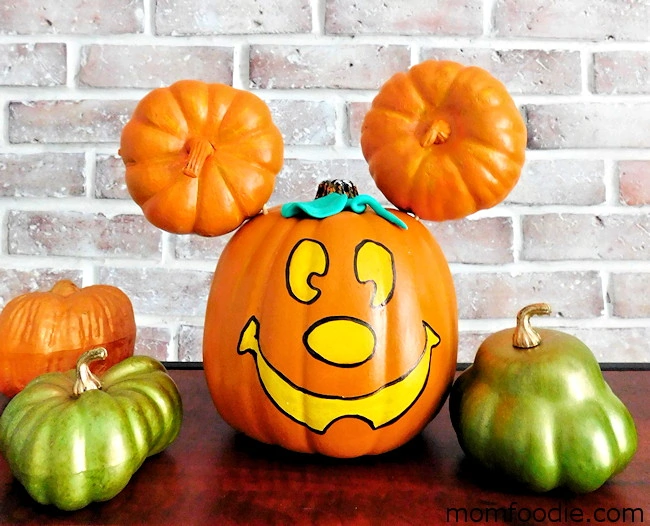
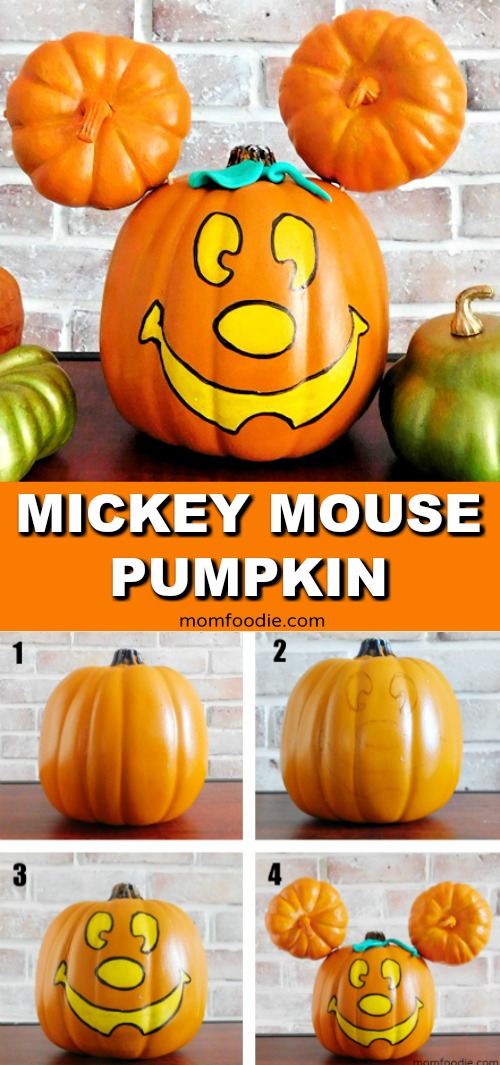
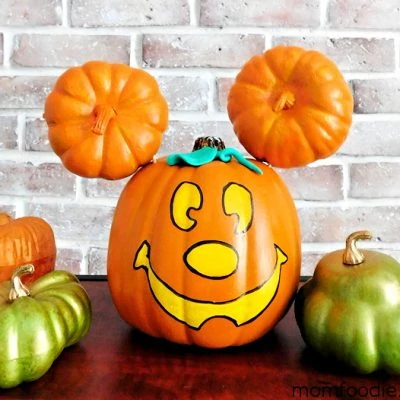
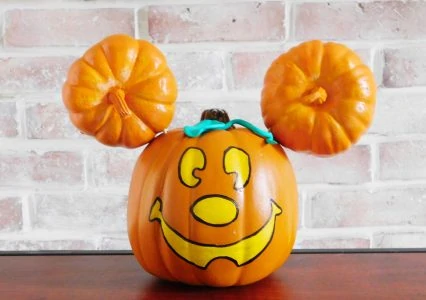
Wouldn't your little ones adore a Mickey Mouse Pumpkin complete with big Mickey ears! This DIY painted jack-o-lantern is not only easy to make but can be displayed year after year.
Mickey Mouse Pumpkin - DIY Main Street Mickey Painted Jack-o-Lantern
Disney fans will love this cute Mickey Mouse Pumpkin that can be saved for yearly display each fall. Just like the real Main Street Mickey.
Main Street Mickey
A giant Mickey the Mouse pumpkin is displayed on Main Street at Disney World every autumn to greet visitors. The Mickey Jack O’ Lantern is an iconic Halloween image at Disney parks and resorts. Create your own Main Street Mickey pumpkin this year with a few simple craft supplies and a few minutes of your time. It is sure to become a family holiday heirloom as you build fun memories around it with your children.
You will end out with a cool Mickey Mouse shaped pumpkin you can use every year! What better way to keep the Disney spirit alive in the fall.
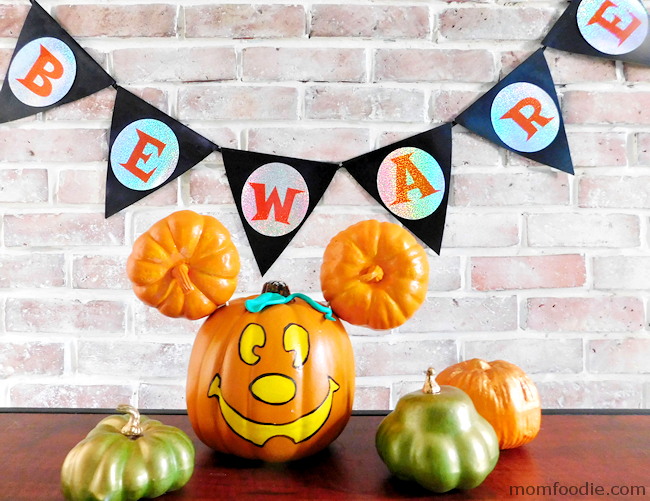
All you need to do is team this painted pumpkin with a few party supplies and the festivities are ready to begin!
Mickey Mouse Painted Pumpkin - How to Make
Here is how to make the Mickey Mouse Pumpkin DIY project. It is easy, just follow along.
Supplies you will need for the project:
- 1 - 10 inch foam craft pumpkin
- 2 - 5 inch foam craft pumpkins
- Black permanent marker
- Yellow craft paint
- Orange craft paint
- Small paintbrush
- Green polymer clay
- 2 bamboo skewers
- Hot glue gun
and glue sticks
Directions to Make the Mickey Pumpkin
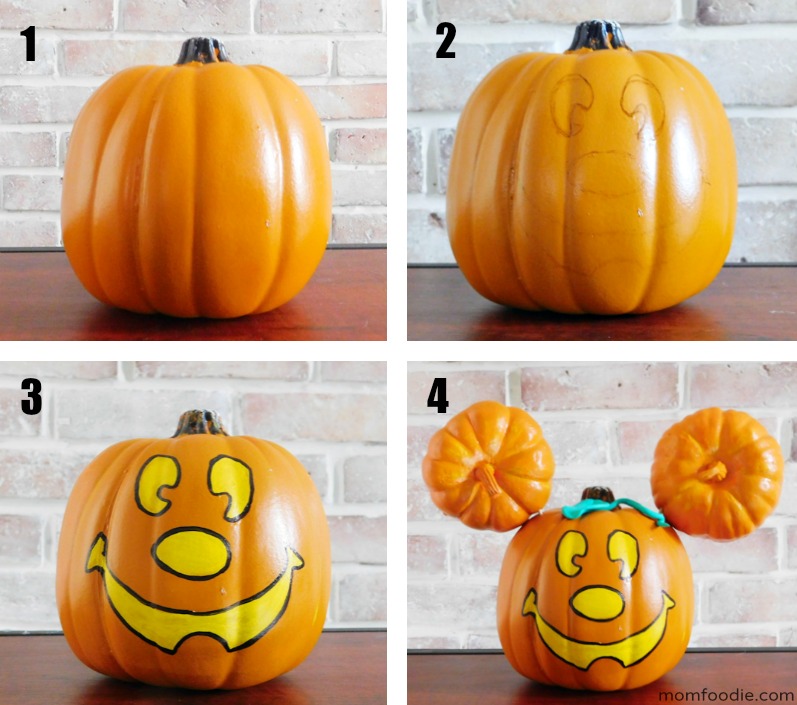
- If the two smaller pumpkins do not match the large pumpkin use orange craft paint to paint them all the same color. Set aside to dry.
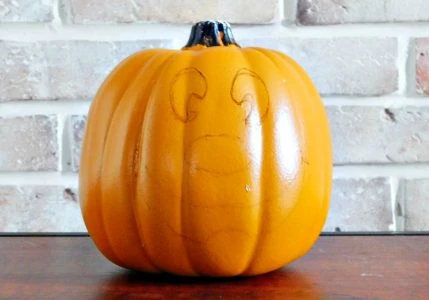
- Trace or free-hand draw Mickey’s face onto the pumpkin with pen.
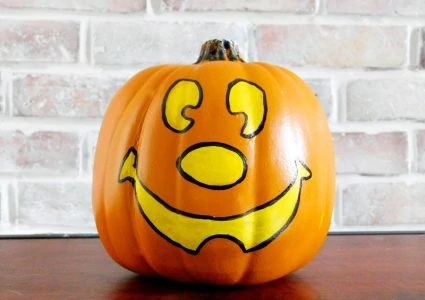
- Use a small paintbrush to paint the eyes, nose and mouth yellow. Let dry completely.
- Use a black permanent marker to trace the yellow eyes, nose and mouth so that they stand out
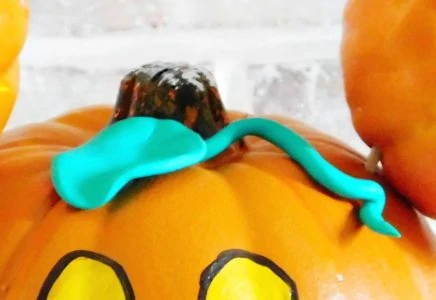
- Use a quarter-sized piece of green polymer clay to make a pumpkin leaf and vine.
- Bake the clay on an oven-safe pan for 15 minutes per ¼ inch of thickness at a temperature of 275 degrees Fahrenheit.
- After the clay has baked and cooled completely glue it to the pumpkin stem with hot glue.
- Pierce each side of the pumpkin with the bamboo skewers and attach the smaller pumpkins to each side of Mickey’s head to make the ears. Add a little bit of hot glue if necessary to secure the ears.
MICKEY MOUSE PAINTED PUMPKIN
Equipment
- Small paintbrush
- Hot glue gun
Ingredients
- 1 10 inch foam craft pumpkin
- 2 5 inch foam craft pumpkins
- Black permanent marker
- Yellow craft paint
- Orange craft paint
- Green polymer clay
- 2 bamboo skewers
- glue sticks
Instructions
- Trace or free-hand draw Mickey’s face onto the pumpkin with pen.
- Use a small paintbrush to paint the eyes, nose and mouth yellow. Let dry completely. Then, use a black permanent marker to trace the yellow eyes, nose and mouth so that they stand out
- Use a quarter-sized piece of green polymer clay to make a pumpkin leaf and vine. Bake the clay on an oven-safe pan for 15 minutes per ¼ inch of thickness at a temperature of 275 degrees Fahrenheit. After the clay has baked and cooled completely glue it to the pumpkin stem with hot glue.
- Pierce each side of the pumpkin with the bamboo skewers and attach the smaller pumpkins to each side of Mickey’s head to make the ears. Add a little bit of hot glue if necessary to secure the ears.

Leave a Reply