Fun Chocolate Skulls dessert!
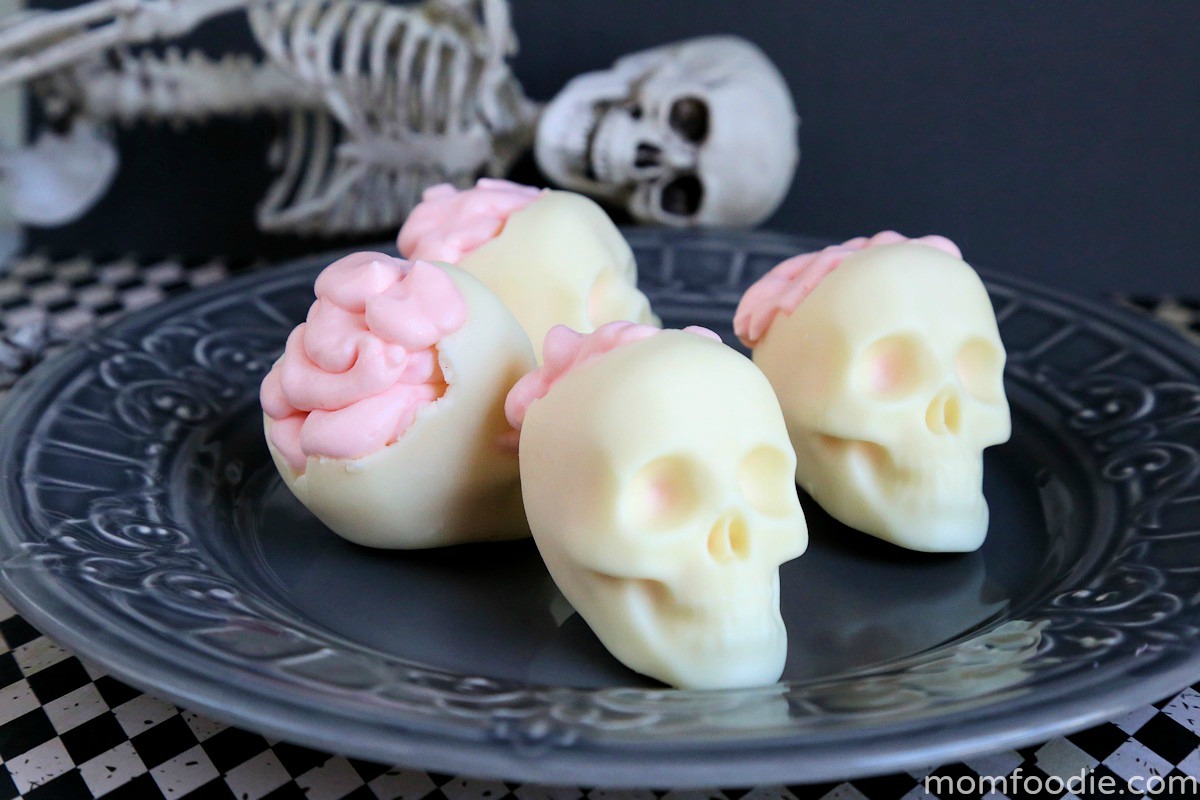
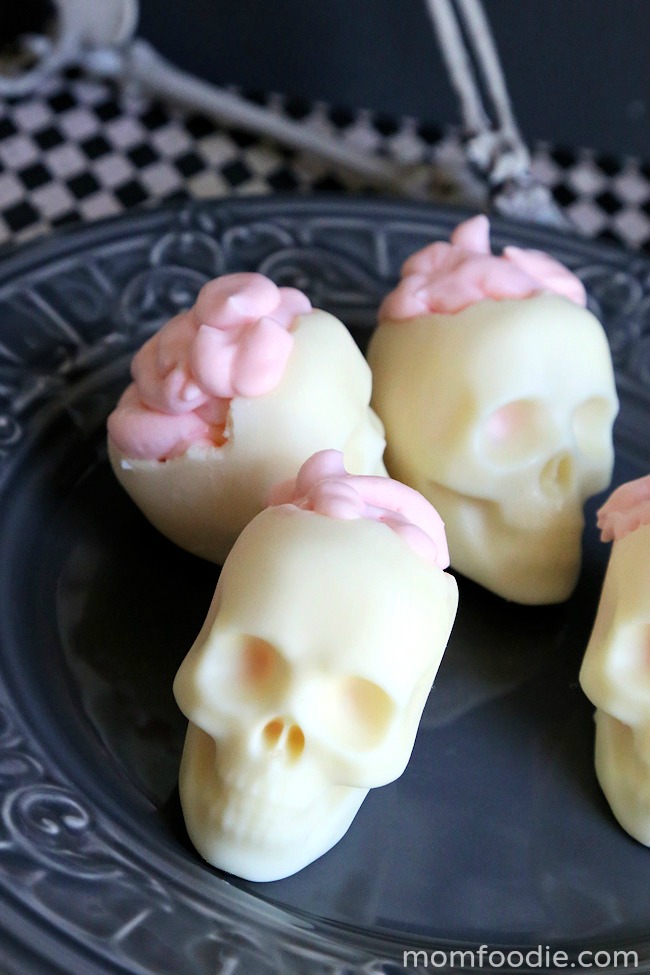
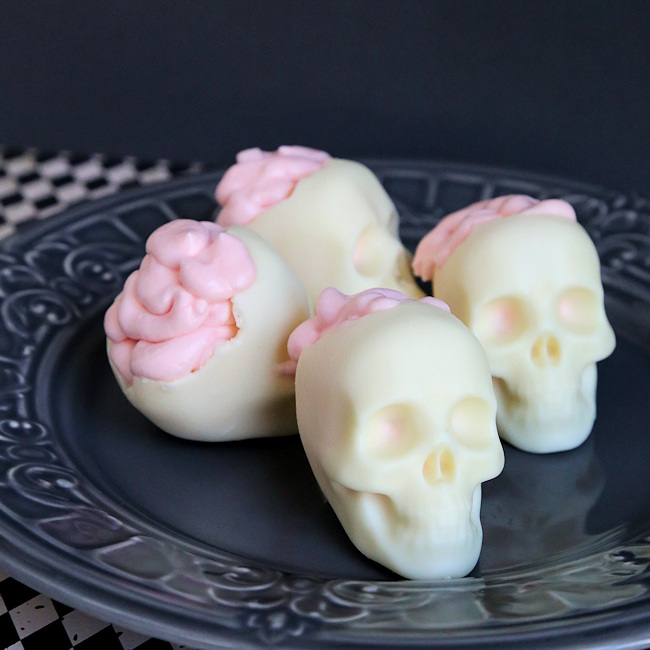
When considering Halloween desserts for an adult party, it is sometimes hard to find a happy medium between the cutesy options and gory desserts that can be off-putting. These white chocolate skulls with brains of pink cheesecake mousse are just the thing. They are elegant and the Halloween dessert cups are small enough for guests to eat in just a few bites without utensils.
The chocolate skulls can be made several days ahead and even the pink mousse can be piped into them the day before. Allowing them to firm up overnight or even a day is actually a good thing with these.
 Making Chocolate Skulls
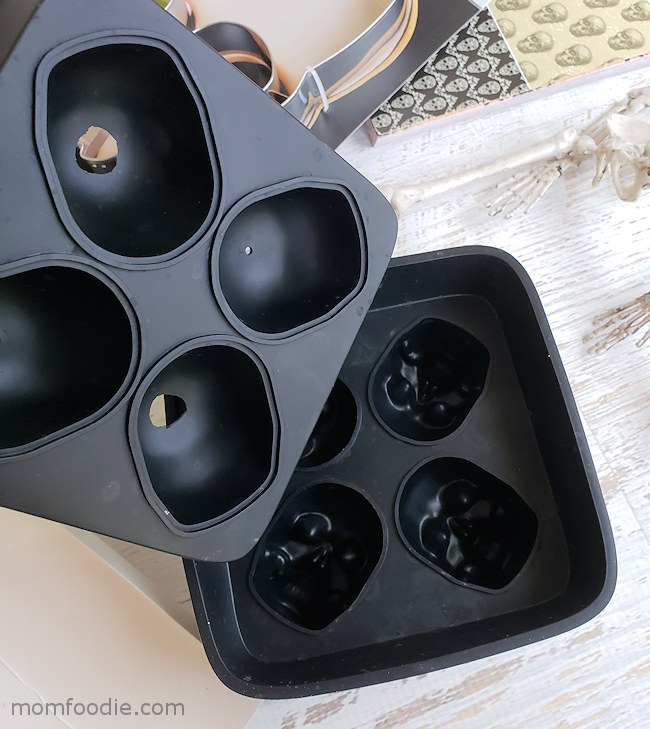
You will need a nice 3D skull mold to make your white chocolate skull dessert cups with.
This is the one I used and it is quite sturdy, seals well and the chocolates released well. It is actually called an ice mold and the holes to pour are too tiny. You can either cut a larger hole or put slits at the hole so you can push a piping tip in to get the chocolate in. I found the slits worked better for this project, but the holes did work and I also use the mold for soaps which the holes work better for.
The skull chocolate mold is partially filled then swirled around to ensure the whole surface area is well coated. This is repeated several times, then the mold is placed in freezer face side down for a few minutes to harden.
Make sure your chocolate is fully melted and smooth before attempting to mold it. A little patience melting your chocolate will avoid air bubbles and ensure fine looking chocolate skulls.
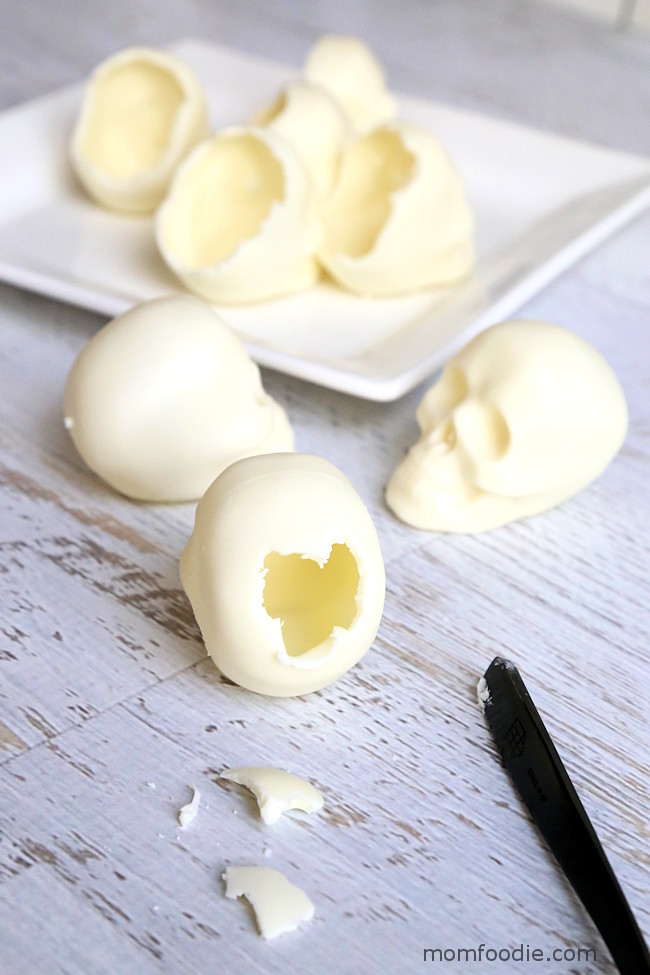
Once fully cooled (yet not cold, the chocolate will be to likely to shatter cold), crack into the skulls and remove the upper back half. Don't fuss about doing it neatly. the goal is the look of broken bone.
The easiest way to do this is inserting a knife or back of a utensil as I did here, then break off pieces outward. You get more control over finished opening size that way.
Prepare the pink tinted cheesecake mousse and pipe into each chocolate skull. Take care to finish off with a twined swirl pattern reminiscent of the folds of a brain.
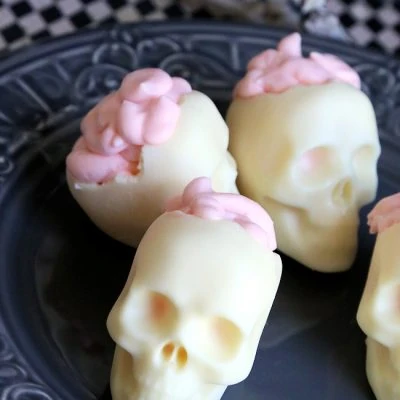
White Chocolate Skulls with Brains Mousse
Ingredients
- 3d skull silicone mold
- squeeze bottle with ⅛ to ¼ inch hole or piping bag with smooth round nozzle
- 10 oz white melting chocolate
- ½ cup whipping cream
- ¼ cup white chocolate chips
- 4 oz cream cheese softened
- ¼ cup confectioner's sugar (powdered sugar)
- ½ tsp vanilla pure extract
- 2 drops red food coloring (3 for deeper pink)
Instructions
Chocolate Skulls
- Place half of the melting chocolate in a glass measuring cup and melt on defrost in 20 second intervals until nearly all is melted. Then stir until the rest dissolves.
- Pour into bottle or piping bag and squeeze into the molds ¼ of the chocolate in each sealed cavity of prepared mold*. Then rotate the the molds to coat the entire inside of it. Repeat several times to ensure a thick enough coating in all areas.
- Place in freezer for 10 minutes to set. Then pop each chocolate skull out of mold and set aside. Repeat to mold the remaining four skulls.
- When the hollow chocolate skulls are at room temperature, crack into the back of each. Break off small pieces until you have ample room to fill them.
Cheesecake Mousse Brains
- Beat the whipping cream until thick and makes nice peaks. Take care not to over beat, which will make it into a whipped butter. Scoop into a bowl and place in refrigerator.
- Beat together the cream cheese, confectionery sugar and vanilla until smooth.
- Melt the white chocolate chips on defrost level of microwave in 20 second intervals, stir the last few pieces. They will melt in. Then beat into the cream cheese mixture along with 2 - 3 drops of red food coloring.
- Fold the cream cheese mixture and whipped cream together gently. You will be able to tell when they are fully mixed when the pink has no white spots.
- Chill the mousse for 30 minutes then pipe into the skull dessert cups. make the top squiggly to resemble the folds of the human brain. Place the filled white chocolate skulls on a plate or try and chill for 2-3 hours before serving.**
- Take the skulls out a few minutes before serving so the chocolate won't be quite so hard. Add a drizzle of grenadine if you want a gory look.
 Making Chocolate Skulls

Jennifer Fishkind says
These are deliciously disturbing!! In a totally amazing way!!! Thanks so much for sharing - always looking for new Halloween ideas!! ?
Claire says
These are so gross and fun at the same time!!!
I can't wait to give them to my kids. They are going to scream and then demolish the lot! LOL
LOVE THEM!
Sarah Payn says
These look like so much fun to make! I need to get a skull mold so that I can make so.
Robin Gagnon says
I suggest the one I have in the article. The mold is nice thick silicone. I made soaps in it last year too.
Daire says
I love this recipe! I featured them in my Halloween Food roundup on my site!
Kori says
I made the skulls! I used the Almond bark from Walmart for the skulls and they came out great. I'll fill them on Saturday morning so they will be ready for our party.