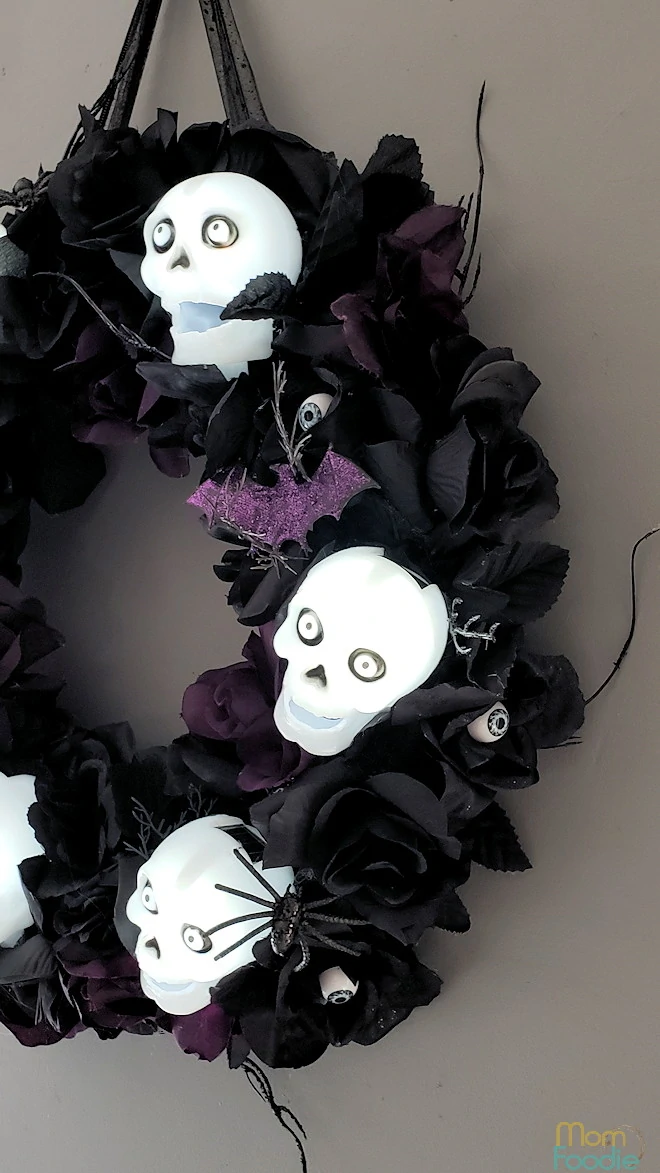
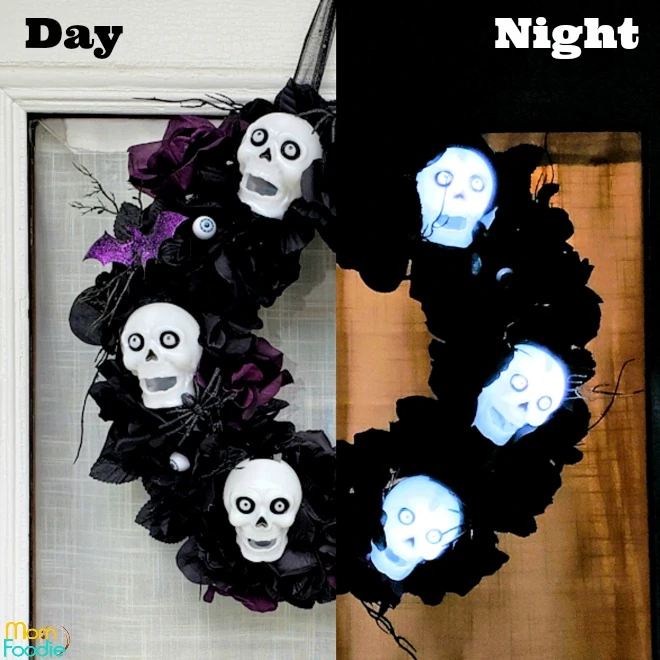
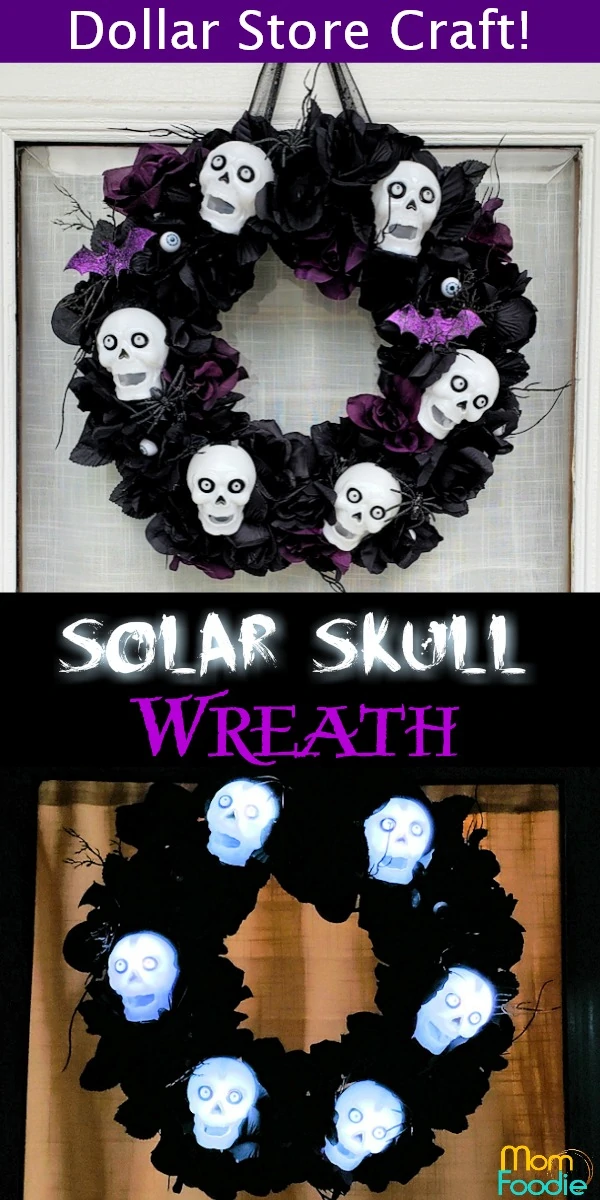
This DIY Halloween Wreath is solar powered! The Victorian Style Black and Purple Rose Skull Wreath gives off an eerie glow at night. The solar powered skull lights charge by day and shine for several hours after dark. All materials used to make this Halloween Wreath were sourced at my local dollar store. The final cost was under $20.
Skulls and Roses Wreath
Skulls and Roses are a popular combination in fashion and decor these days. While intended as a Halloween decoration, this wreath would do well year round on a wall that gets lots of sun all day. The skulls teamed with Victorian roses would be a Goth's delight.
Halloween Solar Lights
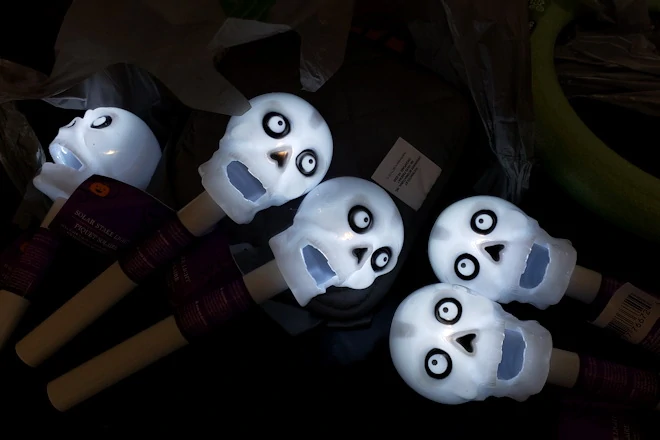
This project all started when I discovered skull solar landscape lights at the dollar store (Dollar Tree). I took some home to see how well they worked and was impressed at the performance of these cheap Halloween lights.
Tip: Test the ones you are buying in the store. I found a couple that did not work (most did).
I realized they would make a fun cordless wreath, so I went back the next day to buy more and gather supplies.
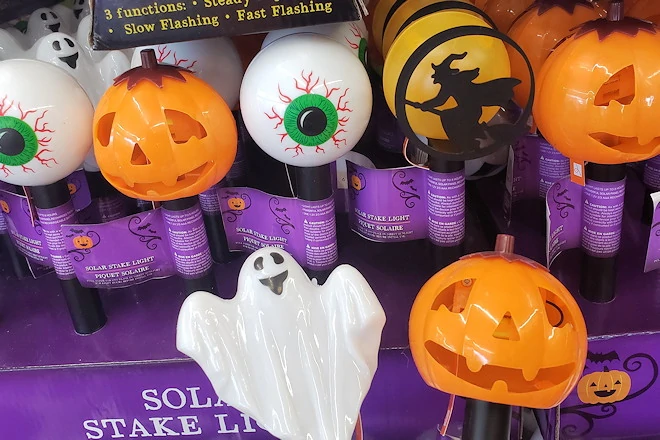
If skulls are a bit too creepy for you, they also had these. I thought about doing another Halloween wreath with an assortment of characters on it, but I have other projects in mind too. I do think one with the ghosts and pumpkins would be cute. It might be a good alternative if your store is out of the skulls or you select silk fall foliage to make the wreath with rather than roses.
Making the Solar Halloween Wreath
This project only takes very basic crafting skills and access to a hot glue gun and a pair of good scissors. This is the first action my glue gun has seen in years and the first time I've made a wreath with it.
Ignore the green foam wreath form. That is for another project.
Materials
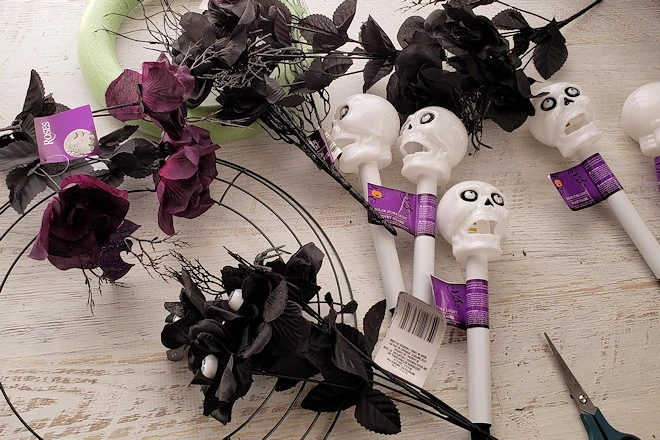
- 6 solar lights, discard the stake parts
- wire wreath frame
- black landscape fabric or wide ribbon
- package of glue sticks
- 6-7 silk flower bunches (4-5 black, 2 purple)
- ribbon for hanging
- floral wire to secure ribbon well
Tools
- hot glue gun
- scissors
- wire cutters (makes cutting the wire to secure ribbon easier)
Note: The floral bunches I found included the bats and spiders. Some of the roses had the eyes in their centers. These items were available in separate packages as well, if you don't find bunches with the extra creepy goodies.
Directions
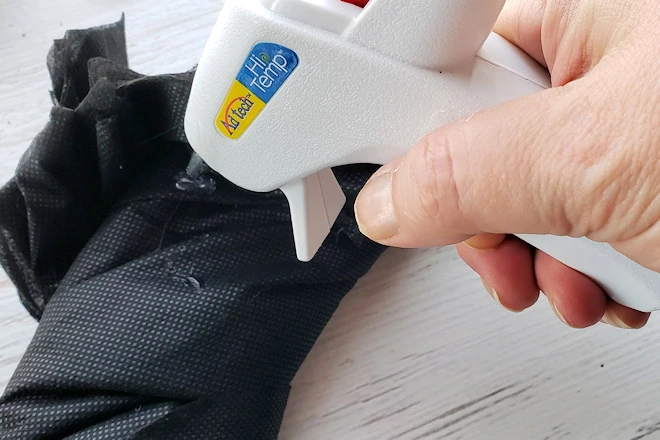
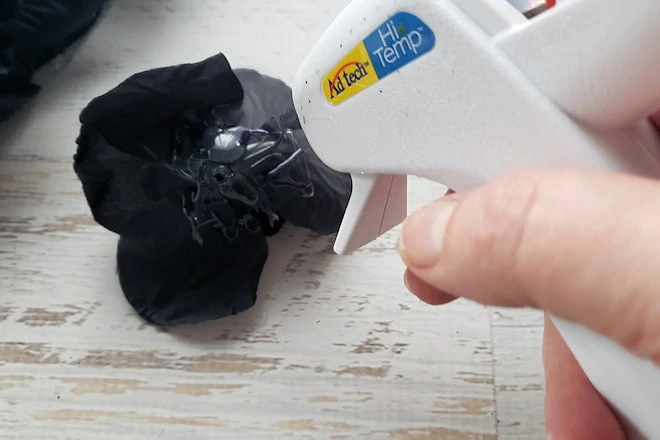
Start by wrapping your wreath frame. I used a small package of black landscape fabric, but black ribbon or even strips from an old black piece of clothing would work. All you need is to create a black background. I simply used hot glue to secure the covering (and it is holding up fine), but adding some floral wire would make it even more secure.
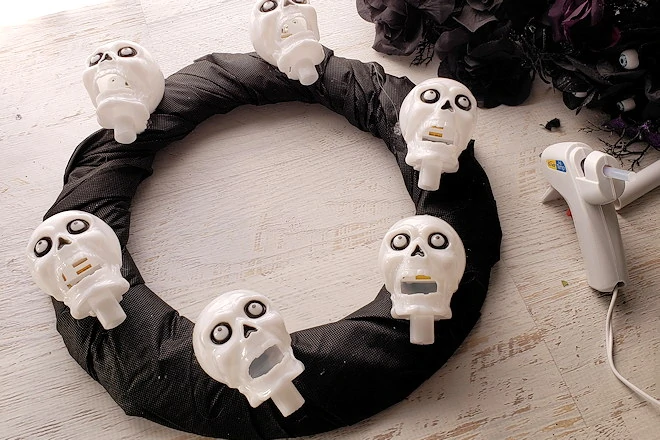
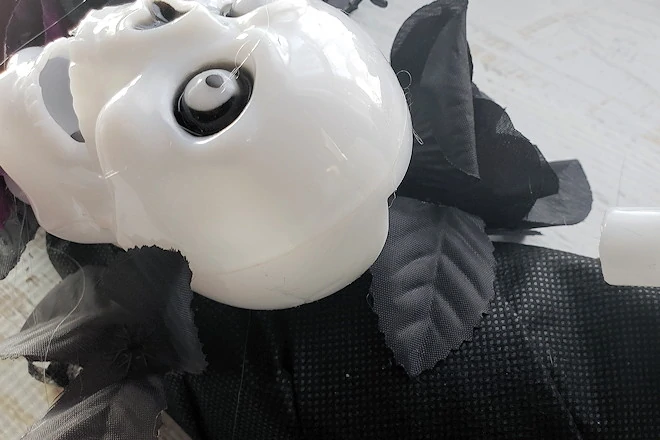
Hot glue on the solar lights. Evenly distribute and make sure each faces upward.
I guess you could remove the protrusion where the skull originally attached to yard spike, but I covered them with the flowers and leaves.
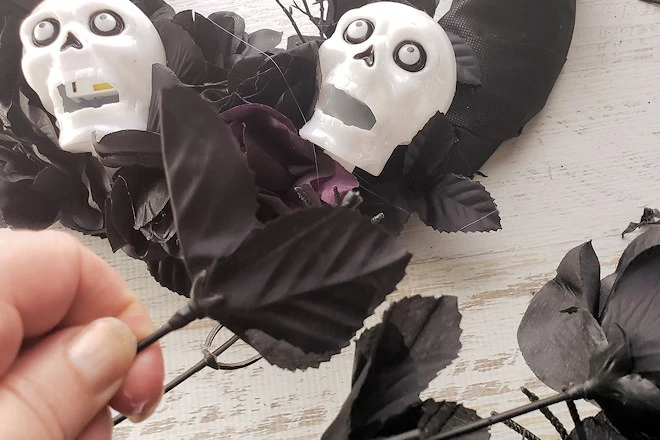
Now pull off the flowers and the leaves from the flower bunches.
The black leaves are used to cover the background while ensuring the area above each solar light is not blocked. They are glued down flat above the solar panels, but also used for filler in spots where needed. It is essential to keep the solar panels clear, so they can charge during the day.
When gluing roses, I like to snip the plastic caps a little shorter and use plenty of glue to adhere it in the position I want.
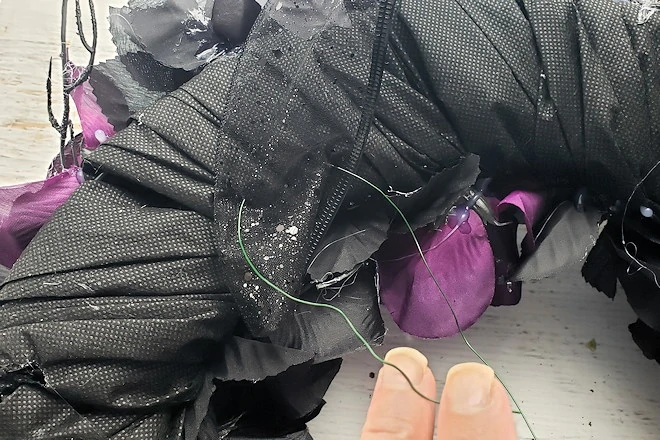
Although I just used glue up to this point, I did want to ensure the ribbon I attached to hold the wreath was good and secure. That connection will be bearing most of the wear and tear. I simply looped some floral wire through the wreath and ribbon ends, then tied off. I also applied some glue so it is quite secure.
The solar wreath will need good access to sunlight. A south facing door or window is best. Mine is between my door and storm door, so well protected. While this can be displayed outside, I would bring it in for particularly bad weather due to the silk flowers.
Tips:
- get an extra solar light or two, in case one starts to fail.
- also an extra sprig of the roses might be handy if your wreath gets caught in a storm for quick repair
- if one of your skulls isn't lighting, make sure it isn't blocked by the flowers. Snipping or gluing down a few petals may solve the issue.
Go a step further... I originally planned on using nail enamel to make these into sugar skulls. If you can't find black flowers at your store, this might be a good option. I thjink they would look great with more colorful flowers.
Find More Halloween Projects & Recipes On My Halloween Page
Here are a few selections:
- Mickey Mouse Pumpkin
- White Chocolate Skulls with Mousse Brains
- Cute Skull Bath Bombs
- Gory Halloween Hand Soap



Leave a Reply